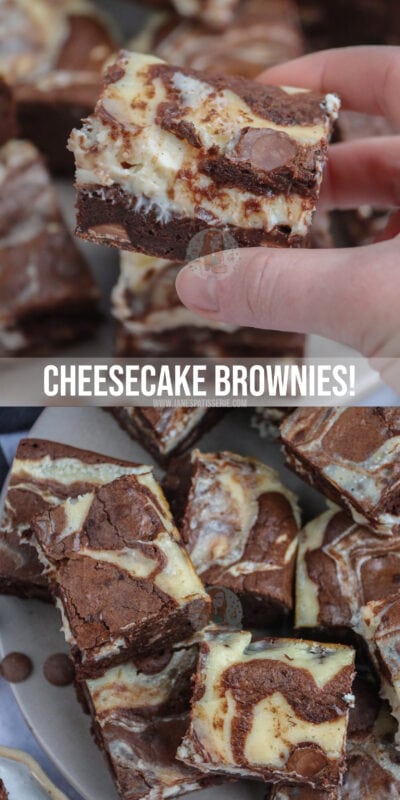
Cheesecake Brownies!

*This post may contain affiliate links. Please see my disclosure for more details!*
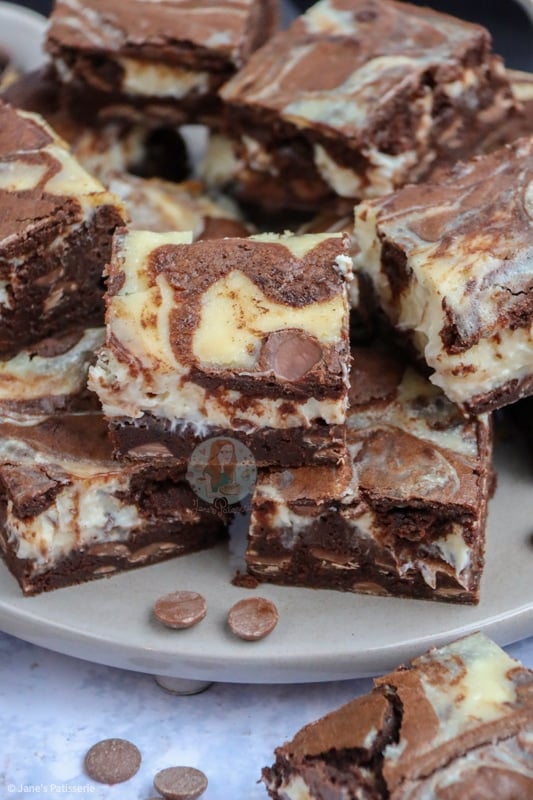
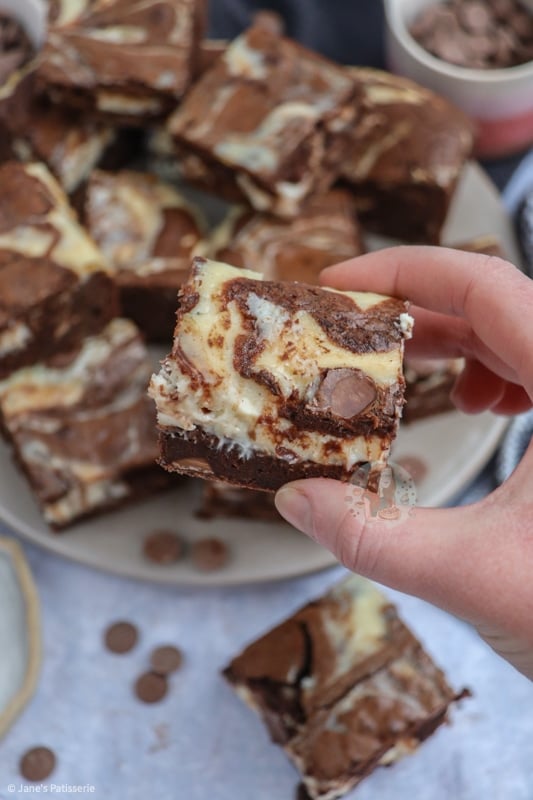
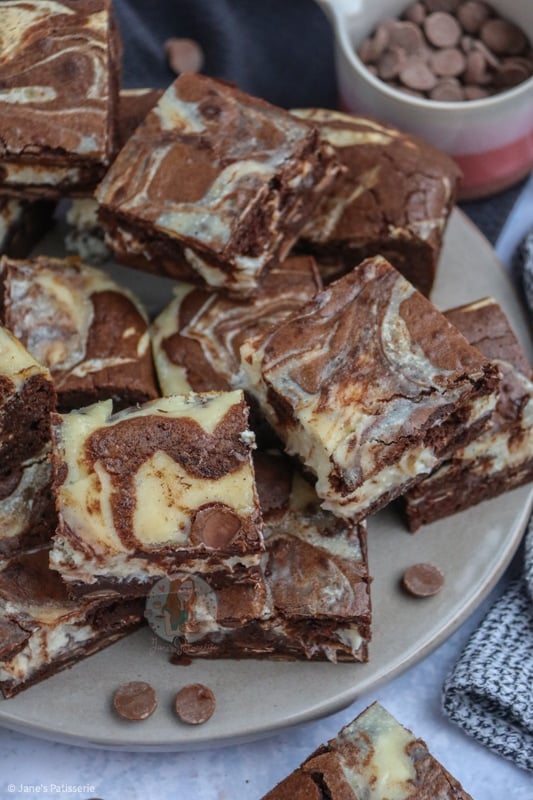
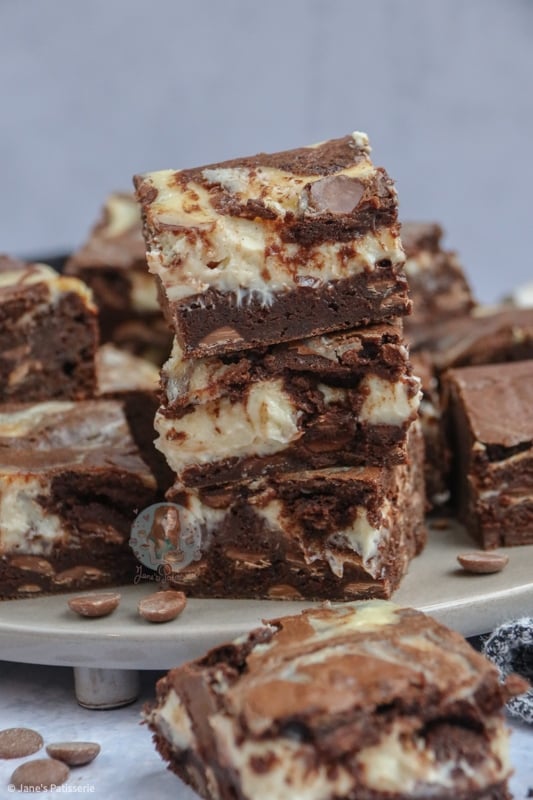
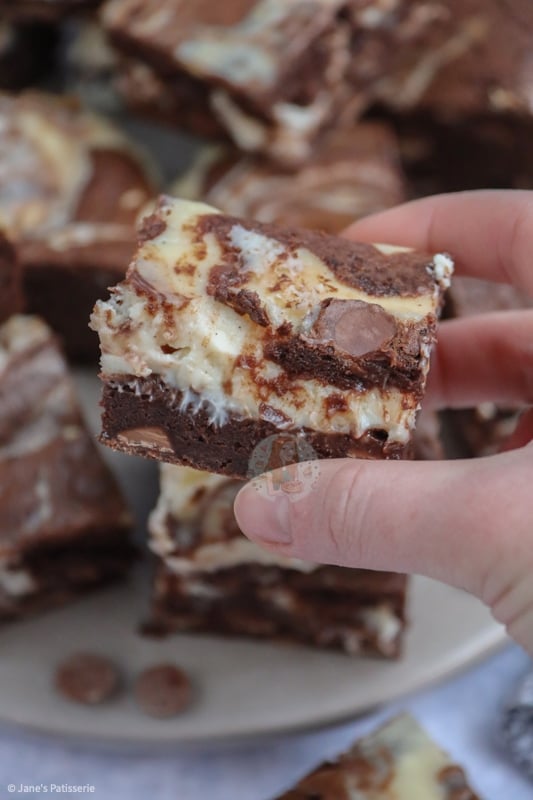
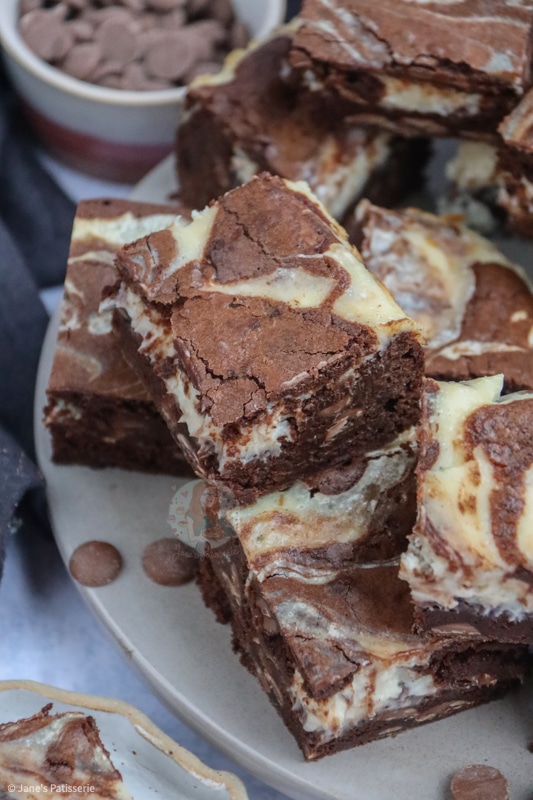
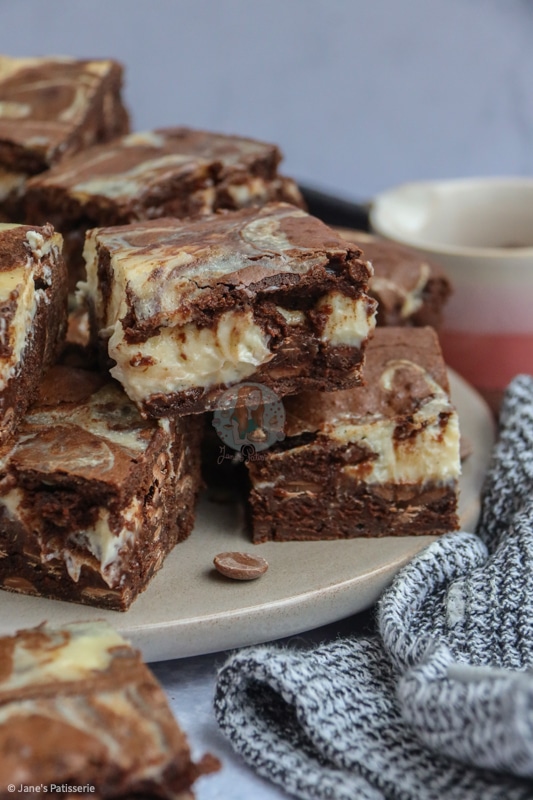
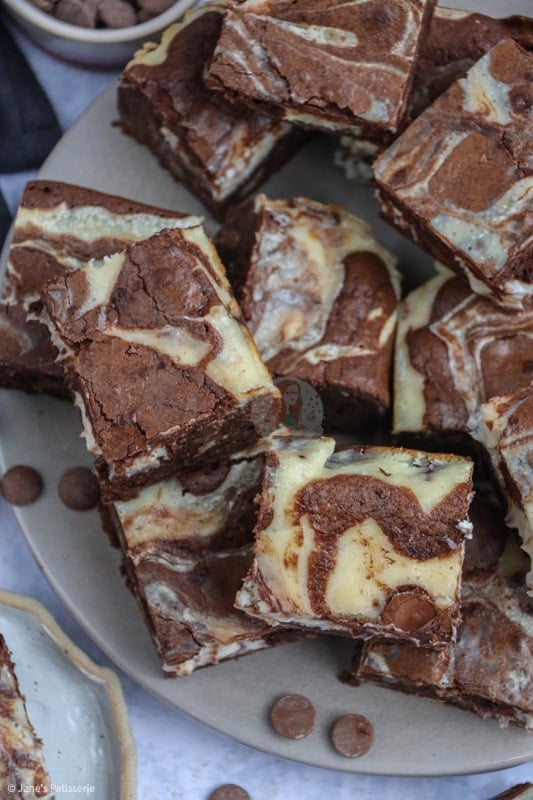
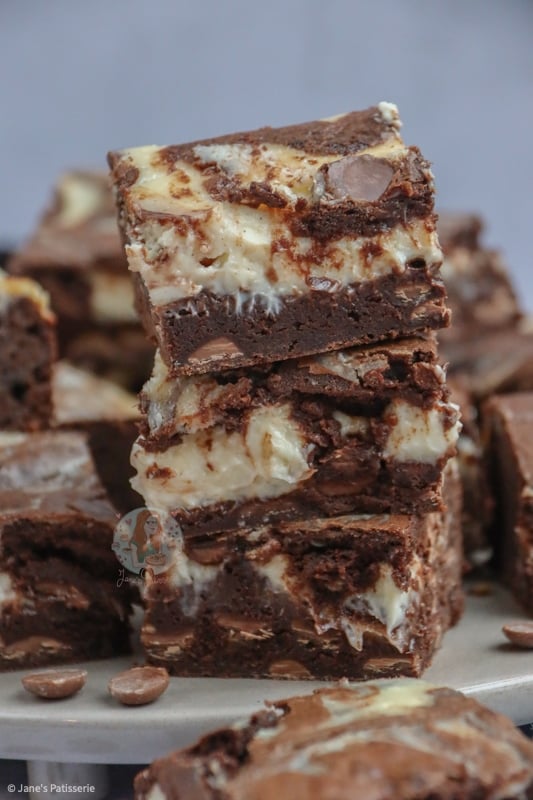
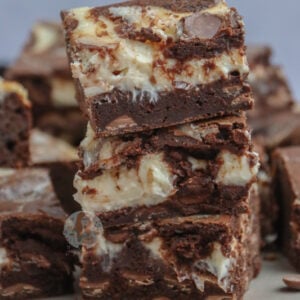
Deliciously chocolatey and gooey brownies mixed with a swirl of baked cheesecake – the perfect cheesecake brownies!
Cheesecake brownies
I have a few brownie recipes on my blog now, but you all keep on asking for more! More experiments, more flavours, an overload of chocolate, something gooey, something fudgey, SO MUCH.. And I am definitely not complaining!
Therefore, I got to work experimenting with two of my favourite and most popular treats in a super simple traybake together! A creation from HEAVEN if I do say so myself – hellooooo cheesecake brownies!
I’m not going to lie, these are truly delicious – cheesecake is pretty much my favourite dessert, as you might well have noticed with well over 75+ cheesecake recipes on my blog, and brownies are my ideal chocolatey treat – therefore the combination is just ideal.
Combination of recipes
These are so simple to make, practically foolproof! Mixing the brownie ingredients is very similar to a basic cake mix, and the cheesecake mix being combined in seconds it’s so simple you just cannot go wrong!
I used the same base recipe that I always use for my brownies (my triple chocolate brownies) because why mess with something if it’s not broken right?! And then used a baked cheesecake mixture on top – the same as my red velvet brownies!
Chocolate
When baking the brownies it is SO important to use dark chocolate for the best results – don’t worry, they do not taste dark if you do them correctly! I always recommend using a base mixture of at least 70& cocoa content for the best brownies. The chocolate doesn’t have to be too fancy, but I always use this dark chocolate as I bulk buy!
Method and assemble
Mix this chocolate with the butter and melt, let it cool, and carry on with the next steps. I always use my stand mixer to make my brownies, but this is not essential – I just find it much easier. Whisking the eggs and sugar to make a thick and pale mousse-like mixture takes a couple of minutes, but you can tell it’s down when the whisk leaves a trail of mixture for a second before disappearing into the mixture.
Carefully fold the ingredients together, add the chocolate chips if you want them, and pour 90% of the mixture into your lined tin. This is where the cheesecake comes in… yes, it will be a relatively thin mixture, unlike a no-bake cheesecake, but that is totally okay! Beat the mixture together and pour it over the brownies.
Finally, dollop on the rest of the brownie mixture and VERY lightly swirl the mix together to make sure that it combines, but so that the cheesecake mixture doesn’t completely disappear. I use the end of a cake skewer to do this, and it really is so easy! I promise!
Bake and set
Bake the brownies for 25 minutes or so, until there is a small wobble in the middle and that is it. There is no point in doing the skewer test, always look for the wobble! I then let my cheesecake brownies cool completely in the tin, and then put the tin in the fridge overnight – this sets the cheesecake, but also sets the brownie to the perfect fudgey texture.

Positive reviews!
My family, friends and I truly adored these, even my Dad who has gone off chocolate slightly! I had to make a special delivery to a couple of friends as well with another few batches, and they came out the same every time! Truth be told, the first time I ever made these they were gone in seconds fresh from my oven! No time for photos or videos – I won’t lie, a few batches were made until these photos were able to be taken.
Serve
I adore serving these with a dollop of any of my homemade ice creams, or a quenelle of chantilly cream – the perfect combination for a dessert after a delicious dinner!
Other traybake recipes
I love a traybake recipe, and I know you guys do too – similar to my staple triple chocolate brownies, my red velvet brownies, and my cheesecake cookie bars – so I’m sure you will love these!
Cheesecake Brownies!
Ingredients
Brownie Mix
- 200 g unsalted butter
- 200 g dark chocolate chips
- 275 g light brown soft sugar/caster sugar
- 4 medium eggs
- 100 g plain flour
- 50 g cocoa powder
- 200 g milk chocolate chips
Cheesecake Mix
- 250 g full fat cream cheese
- 100 g caster sugar
- 1 medium egg
- 1/2 tsp vanilla extract
Instructions
- Preheat the oven to 180ºC/160ºC fan and line a 9″ square baking tray with parchment paper.
- Melt together the unsalted butter and dark chocolate in a heatproof bowl over a pan of boiling water, or in the microwave in short bursts until melted.
- Leave to the side to cool to room temperature.
- In a new bowl, whisk together the eggs and caster sugar for a few minutes until the colour has turned pale, is very mousse like, and is double the original volume of the amount of eggs + sugar! You will know its done because when you lift the whisk up out of the mix it should leave a trail for a couple of seconds!
- When whisked, pour the cooled dark chocolate/unsalted butter mix over your egg and sugar mix and fold together carefully. It might take some time, but be patient – you don’t want to knock out the air you made up on the previous step
- Once completely combined, add the cocoa powder and plain flour on top of the chocolate mix and then fold together again – still being careful to not knock out the air!
- Once combined well, fold through the milk chocolate chips evenly and pour 90% of the mixture into the prepared tin.
- In a bowl, beat the cream cheese until loose, and add the caster sugar and beat again until combined.
- Gradually beat in the egg until combined along with the vanilla extract.
- Pour the cheesecake mixture on top of the brownie mixture, add the last bit of brownie mixture in dollops and swirl slightly.
- Bake in the oven for 25-30+ minutes, until there is a slight wobble in the middle! Once baked, leave to cool in the tin completely.
Notes
- This recipe will last covered in the fridge for 4-5 days, or you can freeze them for up to 3 months!.
- I used milk chocolate chips in my brownies to give it a bit of an extra hit, but this is optional!
- I used Philadelphia full fat cream cheese, but any brand is fine providing it is full fat!
- Any dark chocolate is fine to use in the brownie mixture, providing it is at least 70% cocoa.
- I use this 9″ square masterclass tin
- I use this baking parchment
- I use this Dark Chocolate
- I use this Milk Chocolate
- I use this cocoa powder
- This recipe was updated in April 2017 - I did this to make it a more successful recipe.
ENJOY!
Find my other Recipes on my Recipes Page!
You can find me on:
Instagram
Facebook
Pinterest
Twitter
Youtube
J x
© Jane’s Patisserie. All images & content are copyright protected. Do not use my images without prior permission. If you want to republish this recipe, please re-write the recipe in your own words and credit me, or link back to this post for the recipe.
Could you make these brownies coffee flavour? So it’s kinda a tiramisu brownie? If so how much coffee will you need?
I don’t think I’ve ever made something that tasted so decadent. Recipe very easy to follow. Thankyou
Hi – do these have to be kept in the fridge like cheesecake to be food safe? Or are these safe out of the fridge because the cream cheese is baked please? 😊
Hiya! Any cheesecake product whether baked or not needs to be kept in the fridge! x
Excited to try. If I want to make a smaller batch, the recipe ingredients are calculated on the print out version but the cooking time is the same, should it be less time?
Fab!! Can you freeze these once baked?
Yes absolutely – for up to 3 months! x
Hello ! May we use the recipe as a birthday cake dressed with sugarpaste. In that case do we bake more or leave it the same consistency? I fell in love with your brownies and want to make a cake out of it. Thank you for your wonderful recipes.
Hello !! I made rhe brownies a month ago and i was excited..its the best recipe ive ever done!. A friend of mind was excited too and told me to make the briwnies fir he sons christening as a treat..200 pieces. I was wondering if i could freeze either the batter or the baked brownies for a few days ? Thank you in advance xx
200 pieces! Wow you will be very busy! You can freeze the brownies for 3+ months x
What consistency should the cheesecake mix be (before it’s baked)?
It is quite thin normally, mix as little as possible to keep it thicker but its not the end of the world if its thin x
Should there be a wobble when the brownie is cooked? Made it in a slightly smaller tin, so trying to work out when it’s done. Smells delish – can’t wait to dig in!
There will be slightly because of the cheesecake mix – once cooled it should settle! x
Hi,
Just got this amazing looking brownie cheesecake in the oven!!
Smells so good!
Just wondered if I’d be able to freeze it?
Thanks x
Ahh yay! And yes you can! X
Hi Jane,
Love all your recipes you are amazing!!!
Quick question..
Would I be able to add Oreos into the brownie and into the cheese cake topping? To make an Oreo cheesecake brownie xx
Yes you can!! The cheesecake mix is quite runny so it may look a little weird before baking, but it should work! x
Would 50% less fat cream cheese work. I picked up the wrong one 😔
Generally I don’t recommend that – but as this is a baked cheesecake it may be alright… it might just be a very runny mix!
Hi Jane. I have some white chocolate cheesecake mix (from your milkybar cheesecake recipe) that I over whipped and kept in the freezer. Could I defrost some of this and use it as the cheesecake mix for these brownies? Many thanks
It would definitely be worth a go although usually an egg is added in to make it bake better, so maybe add one in?! x
Hi Jane, I am commenting this while my brownies are baking, it’s been nearly 45 minutes and the brownie beneath, hasn’t baked yet, what should I do so the cheesecake doesn’t burn? Great cakes by the way.
Most likely the brownie mixture was overmixed which is why its taken longer – whenever baking anything that you don’t want to burn, lightly cover with foil.
Hi Jane, i’m looking into making this and if i have an 8″ square tin, how much ingredient do i slash off? Thanks
I’m not entirely sure really, but it might be worth making the normal batch and baking a few brownie cupcakes with the spare!
Thanks Jane, in fact i went to buy a 9×9″ square tin to try your recipes and they turned out so well. All my workmates like them and they finished the whole tray! Thanks for your recipe.