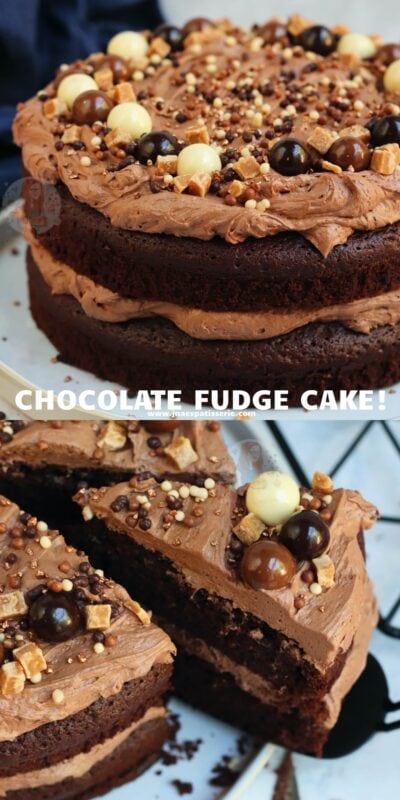
Chocolate Fudge Cake with the BEST Chocolate Frosting ever!

*This post may contain affiliate links. Please see my disclosure for more details!*
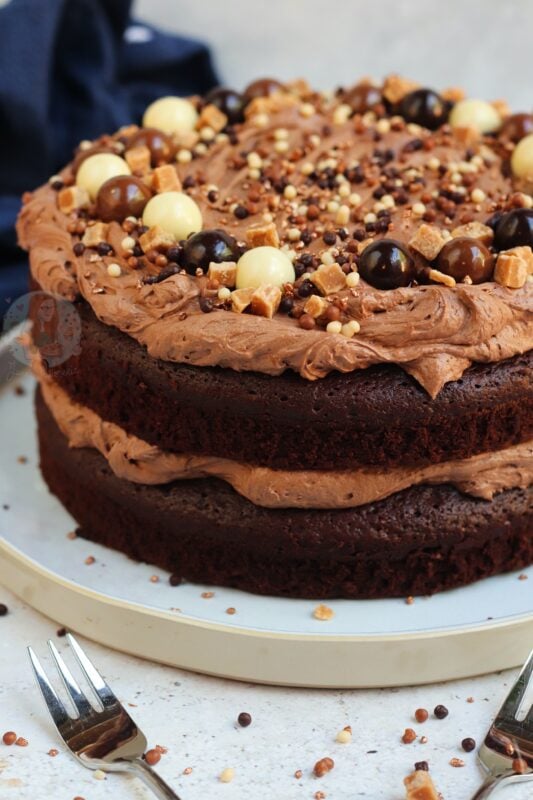
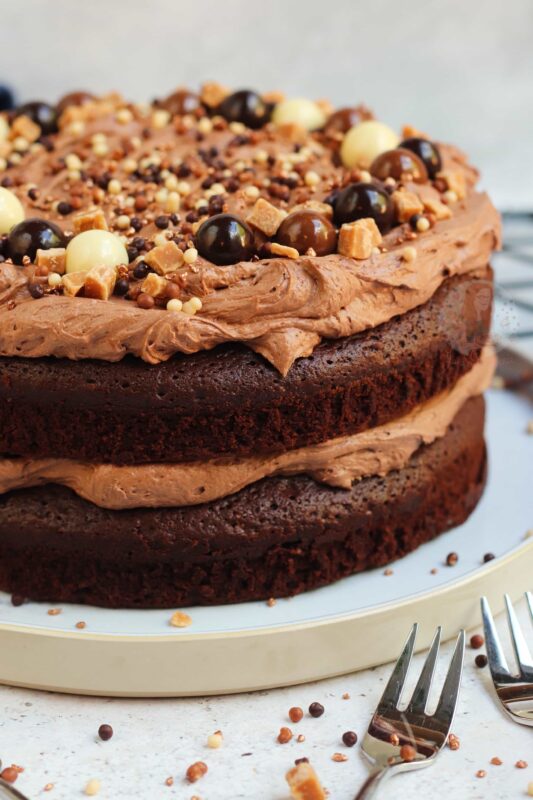
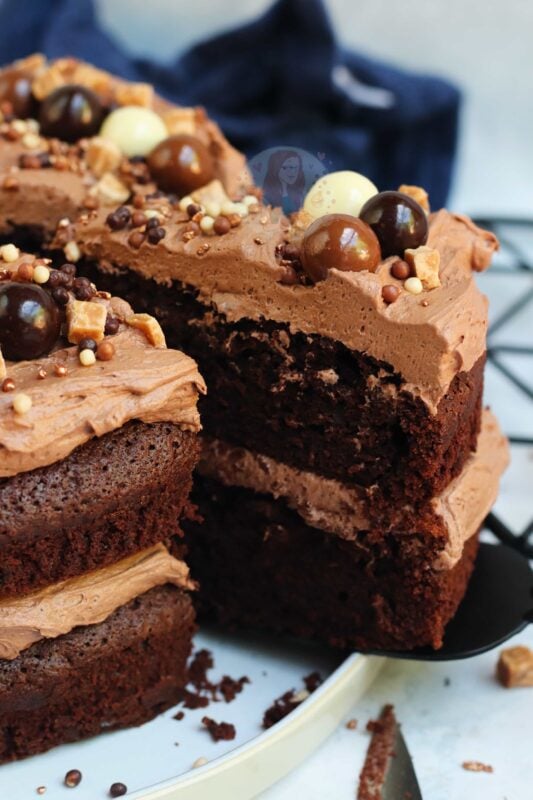
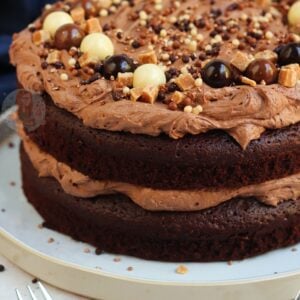
A moist chocolate fudge cake sponge, topped & filled with THE BEST chocolate frosting you will ever make!
So let me introduce to you the only chocolate fudge cake recipe that you are ever going to need. I realise saying that this contains the BEST chocolate frosting ever is quite a statement, but I honestly think it is – its so delicious! I also realised after my Facebook requests post that I hadn’t actually posted my go-to chocolate cake recipe!
This recipe is what I’d make a bruce cake out of to make a Matilda cake, it’s the cake I would use when I am craving chocolate, it’s the recipe I would use if you want something epic and indulgent – it is epic.
A classic bake
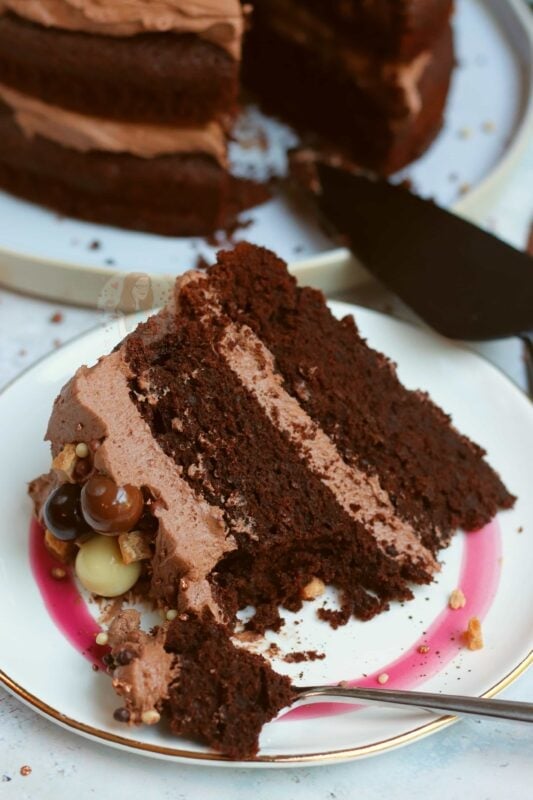
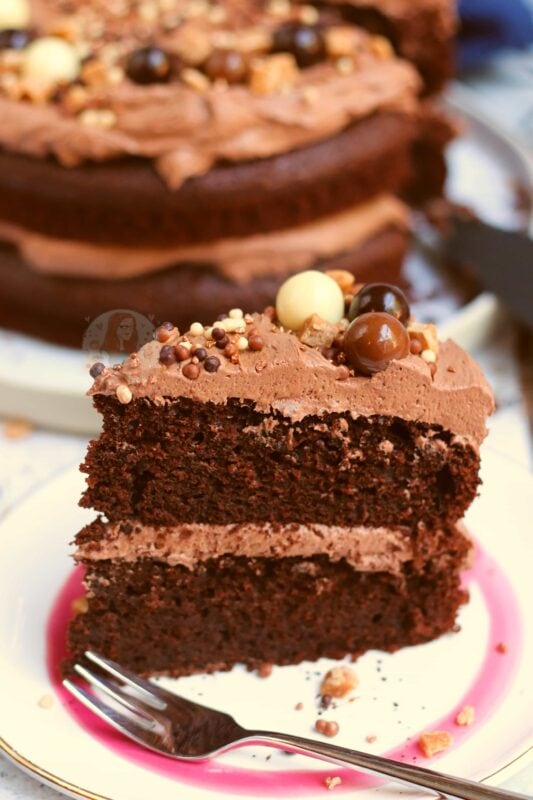
When I posted my recipe for my Victoria sponge – celebration cake I knew you all loved the classics, so I hope this suits well too! However, this cake is so much more indulgent. You can easily make a chocolate version of my Victoria sponge, but this is definitely more dense, and more chocolatey. It’s basically heaven in a bite.
This is the sort of cake that you want to have a slice, and then shove it all in your face. Yes its gooey, and has many more ingredients then you think it probably should have, but it is WORTH IT. Honestly, worth it. It also does seem a little faffy, but again.. its worth it!
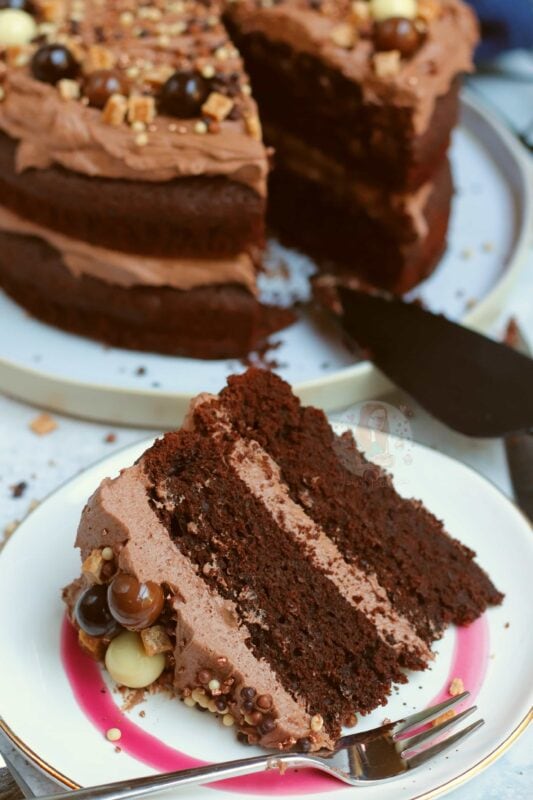
Layering it up with the best frosting on the planet, and you will want to devour every single crumb. Because of how it bakes however, it can often take a long time in the oven, and even sometimes less. It’s all down to the mixing!
The cake mix
This recipe will sound like a lot of ingredients, but it’s worth it. Melt the chocolate and butter, and then mix everything into one big bowl… you don’t need a mixer for this bit.
- Chocolate – when making this, you want to use dark chocolate in the mixture for best results. I always use 70%+
- Butter – unsalted butter, or baking spread, will work for the sponges
- Coffee – this is mentioned below, but trust me…
- Flour – I use plain flour, as your raising agents come elsewhere so you don’t need self raising flour. It’ll make the sponge too delicate
- Cocoa – I like my cake super chocolatey, so I add this in as well as the chocolate
- Raising agents – baking powder, and bicarbonate of soda for this beauty of a cake
- Sugar – a mixture of brown sugar and caster sugar is wonderful – all of one, or all of the other works perfectly though
- Eggs – I use medium eggs in my baking, but 3 large would work instead of 4 medium
- Buttermilk – this is an important ingredient – you can make your own though with 1tsp of lemon juice mixed into 75ml milk

Coffee
Chocolate cake is one of those classics that you don’t want to mess with, but sometimes they can be terrible, or not chocolatey enough, or just not moist enough. I have seen over the past few months that people use coffee or instant coffee in a chocolate cake of forms to make the cake more moist and chocolatey – so I tried this!
I personally cannot taste the coffee, and neither could my family – however, If you don’t like coffee, or never buy it then no worries – you can use just water, but the depth of flavour might not be the same!! Please please PLEASE trust in using the coffee though – I really am sure that you will love it! It just makes it basically the best sponge ever!!!
The BEST EVER frosting
The magical ingredient in the chocolate frosting is the evaporated milk – I discovered this after trawling through the internet for hours on end and found a couple of mentions that it might be better – and holy smokes it was.
- Butter – for this frosting, you MUST use a block butter. You do not want to use any form of spread
- Sugar – icing sugar, as always
- Cocoa – a nice rich cocoa powder is best, I use a 100% cocoa powder
- Vanilla – a little bit of vanilla, as always again
- Evaporated milk – this is so important. Condensed milk is not a substitute, if you can’t get evaporated milk, add double cream whipped in really well, but it’s still not quite the same
Tips & tricks
I do NOT use an electric mixer for this cake recipe, because it will most likely over do it. I just do each bit by hand, and then fold it all together to get a thick fudge cake that bakes to perfection. However, a mixer is good for the frosting side of things!
It is very soft, so it can be difficult if you want to spread the cake in buttercream, so I find its easier just to make layers. If you do want to cover it, you’ll need to refrigerate the cake for 30 minutes to firm it slightly first, and it’ll be easier
- This cake will last for 3-4+ days at room temp
- You can freeze this cake for 3+ months
- I use this cocoa powder
- I use this dark chocolate
- I use these cake tins for this bake
Chocolate Fudge Cake with the BEST Chocolate Frosting Ever!
Ingredients
Cake Ingredients
- 225 g dark chocolate
- 225 g unsalted butter
- 1 tbsp instant coffee granules
- 125 ml boiling water
- 175 g plain flour
- 25 g cocoa powder
- 1 tsp baking powder
- 1/4 tsp bicarbonate of soda
- 200 g white/golden caster sugar
- 200 g light brown sugar
- 4 medium eggs
- 75 ml buttermilk
Chocolate Frosting
- 250 g unsalted butter (not stork)
- 500 g icing sugar
- 50 g cocoa powder
- 1 tsp vanilla extract
- 100-125 ml evaporated milk
Decorations
- Sprinkles
- Anything!
Instructions
For the Cake!
- Preheat the oven to 160ºc/140ºc fan and grease & line two 8″/20cm cake tins – leave to the side.
- In a heatproof bowl, microwave the dark chocolate & butter until melted
- Pour the coffee granules into the boiling water and mix – add the coffee to the chocolate/butter mix and stir well until smooth!
- In a separate large bowl add the flour, cocoa powder, baking powder, bicarb, sugars and mix well so the ingredients are all mixed with each other well
- Mix the eggs with the buttermilk – and then add all the ingredients together and stir
- Pour the mixture into the two tins and bake in the oven for 35-40 minutes (can take a little longer in some ovens)
- Once baked leave to cool in the tin and remove afterwards
For the Frosting!
- With an electric mixer with the paddle attachment, beat the butter until its very smooth and supple (couple of minutes)
- Gradually add the icing sugar & cocoa powder alternatively with the evaporated milk until all is incorporated and add the vanilla essence – beat for a couple of minutes so its extra smooth & creamy.
- The more evaporated milk you add the more runny it’ll be, and I have found about 100ml-125ml is perfect for me! If it's a little hotter weather however, you may find you need less!
For the Decoration!
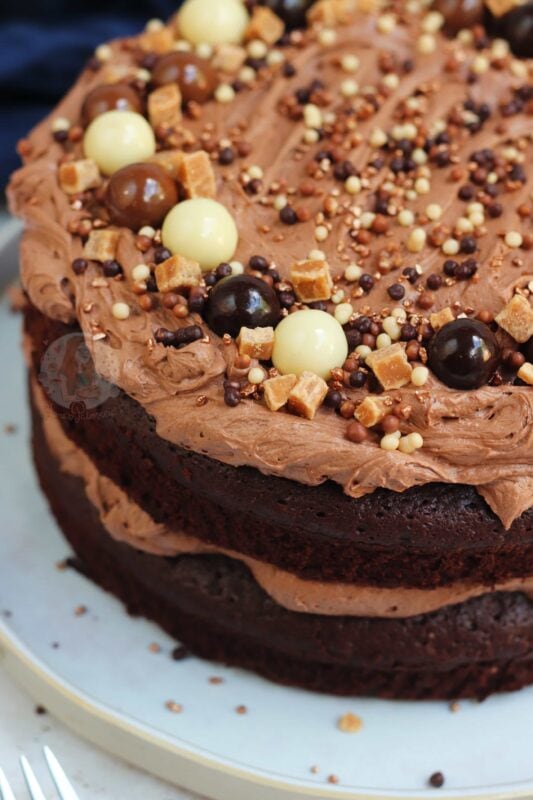
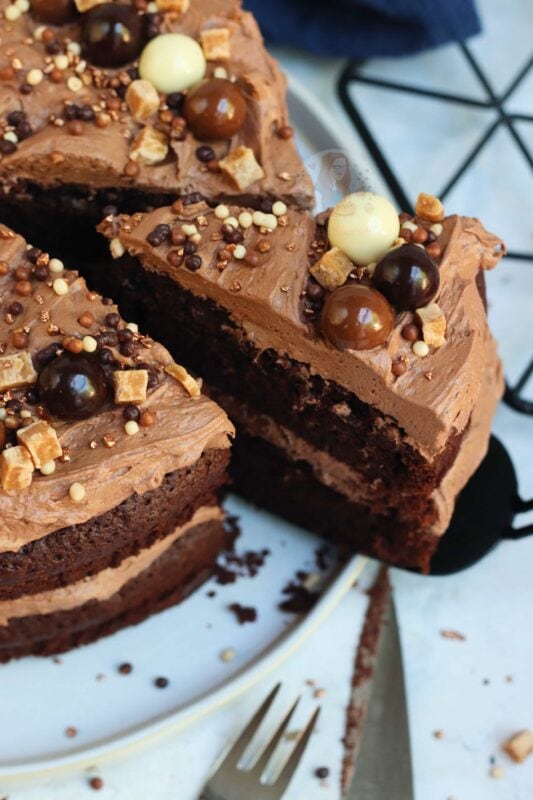
- Decorate your cake how you like and ENJOY! I spread half my buttercream on the first cake, add the second sponge and repeat!
- And then I sprinkle on all sorts of sprinkles!
Notes
- This cake will last for 3-4+ days at room temp
- You can freeze this cake for 3+ months
- I use this cocoa powder
- I use this dark chocolate
- I use these cake tins for this bake
ENJOY!
Find my other Cake Recipes on my Recipes Page!
You can find me on:
Instagram
Facebook
Pinterest
Twitter
Youtube
J x
© Jane’s Patisserie. All images & content are copyright protected. Do not use my images without prior permission. If you want to republish this recipe, please re-write the recipe in your own words and credit me, or link back to this post for the recipe.
I’ve made this 3 times now! Definitely a winner in our house! The last two times I’ve substituted the half of the light soft brown sugar for 75g of dark soft brown sugar as I didn’t have enough. It’s a great tweet!… it makes the sponge slight more fudgey and slightly easier to manage. Really lovely! Worth a try x
Hi Jane I was just wondering if you had a YouTube channel? Or if maybe you could post some videos with decorating tips on here please? Excited to make this cake! Xx
I made this in 3 sandwich tins. Absolutely beautiful cake! So moist – everyone thought it was shop bought! The only change I made, was more cocoa in the frosting, but that’s just my personal preference. Excellent as always Jane! I’m about to try one of your vegan recipes for a visitor this evening. I’m believing in the power of Jane! 🙏
This sounds amazing and I’d like to attempt it for my sisters birthday coming up! The only problem is she really hates coffee! Does it have much of a coffee flavour to the cake? Could I possibly just take this out do you think? Or sub in something else maybe? Please let me know what you think, I loveeeee all your recipes and they’ve turned out great so far so I’d love to try this for her as she’s a massive chocolate fan! Thanks:)
You can’t taste the coffee – it just really enhances the flavour of the chocolate – leave it in, you won’t regret it!
Hi Jane,
I love your website, it’s my number one favorite baking site!!
I love to bake but live alone with no family in this country, so I tend to bake & take into work & for friends birthdays, leavers, etc. I have made your Oreo drip cake several times for work colleagues & it always looks amazing but I find the chocolate sponge can be a bit dry or crumbly when I am decorating it (but I also make 10” sizes of sponges to feed as many of the 300 employees as possible, maybe that’s part of the problem, but I do increase the ingredients by precise calculations based on surface area ratio (not that I have ever had a complaint about it, they devour it but I’m a tad of a perfectionist)), for this reason I wanted to enquire if this cake would work for the Oreo drip cake?
Many thanks in advance & once again your recipes are amazing & so yummilicious I (& for sure most of the people I work with) love them.
Hiya! To be honest, this is probably far too soft. It’s very hard to make a drip cake out of it as it’s soft. If the oreo sponge is dry, it’s overbaked. If I bake anything 10″ or more, I bake at 140C for a longer time to stop it drying out as much x
Hi Jane,
Just made your chocolate fudge cake and it’s turned out lovely! I have lots of the frosting left over – is okay to freeze?
Thank you! X
Yes definitely! And so glad you liked it!
Hi, Do you put both cake tins in the oven at the same time?
Thanks
Hiya! Yes, you should always bake a cake as the mix is ready so both in at the same time!
Hi Jane. Just a quick question before I start making this recipe today. What percent dark chocolate do you recommend using for this recipe? Thank you
I usually use 70% or more!
Hi Jane,
Love the sound of the icing made with evaporated milk, but just wondered if I could make it orange flavour, so it would remind you of Terry’s chocolate orange ?
Thanks for a lovely recipe
You could add in some high quality orange extract!
Many thanks Jane, will be trying it out very soon 😊
Really looking forward to trying out this recipe. Am off to the shops soon to buy the ingredients. Can you tell me why I can’t use Stork for the buttercream? And what I should use instead?
You should never ever use any stork/spread/margarine for buttercream as its too soft, and isn’t real butter and will make it far too soft. Use Unsalted Butter as mentioned in the recipe!
Hi Jane
I absolutely adore your recipes, they always go down well in my house. Was just wondering how much more of the ingredients for the buttercream would I need if I wanted to completely cover the whole cake?
There is probably enough to cover the sides, but as mentioned in the post its not the strongest of frostings so can be a bit difficult to get the perfect finish on the sides x
I made this a couple of days ago and have to say that it’s the best cake I’ve EVER eaten! It’s so chocolately and fudgy, yet easy to make, and loved the buttercream. I only had Stork – although it says not to use that, it turned out okay if not a little runny.
Amazing recipe – thank you so much for sharing!! 🙂
Hi, I want to make this ahead of time for my daughters birthday. You’ve mentioned it can be frozen, how long would you recommend keeping it in the freezer for at the most and can I put the frosting on when it’s frozen or should I completely defrost it first?
You would need to fully defrost the cake before decorating – sponges can be made 3 months or so in advance in frozen, but fresh is best.
I made the cake and it was fab! I’m making it again now but not freezing the sponge this time. How many days will the sponge keep without it being frosted?
It’ll keep for about 3-4 days I’d say – if stored correctly!
Thank you
Can I freeze the frosting?
I believe so, yes!
Hey Jane,
Quick question, is it meant to be gooey in the middle? Because whenever I tried to make it and put the cocktail stick through it, it comes out chocolatey.
If its still gooey when you’re testing the cake after its been in the oven, its not done baking. This is a rule for all cakes. x
Well, it’s just, I had it at the right temperature you said and it was in there for the time you said, maybe my oven is just one of those that needed to be longer.
A temperature and a time is never a guarantee and your oven could be completely off, and I do mention that it can take longer in some ovens in the method. Some ovens can be about 20C out easily, or if your mixture was thinner it would also need more baking time.
Hey Jane, quick question. Can the butter and chocolate be melted on the stove as well?
You know, put the bowl over a pot of boiling water and let them melt? And can they be melted together?
Yes they can x
Hi. Ive make this cake a few times and love it. Weve having a big family party and wanted to make this cake but much better. 14inch round with 3 teir.
Do you have any ideas on how much mixture i would need?
Hiya! Do you mean tiers or layers? Just because tiers wise, I don’t think this cake will stack very well, but three layers of cake is fine. Also, if you do mean layers, I would think you will need to bake the layers separately and not all in one as I just don’t think the cake will ever bake because its so fudgey.
I would advised using 2.5x the amount for each layer. It’s A LOT of cake, so it’ll be interesting!
Also, I would advise keeping the baking temp low at 140C, and baking it for probably near enough 2 hours per layer? I’ve never baked it this big however, so thats a guess on time. It’s something you’d have to keep an hour on, but as just an 8″ layer takes about 40 minutes, I can imagine a 14″ will be 2 hours or more xx