Mini Egg Cupcakes!

*This post may contain affiliate links. Please see my disclosure for more details!*
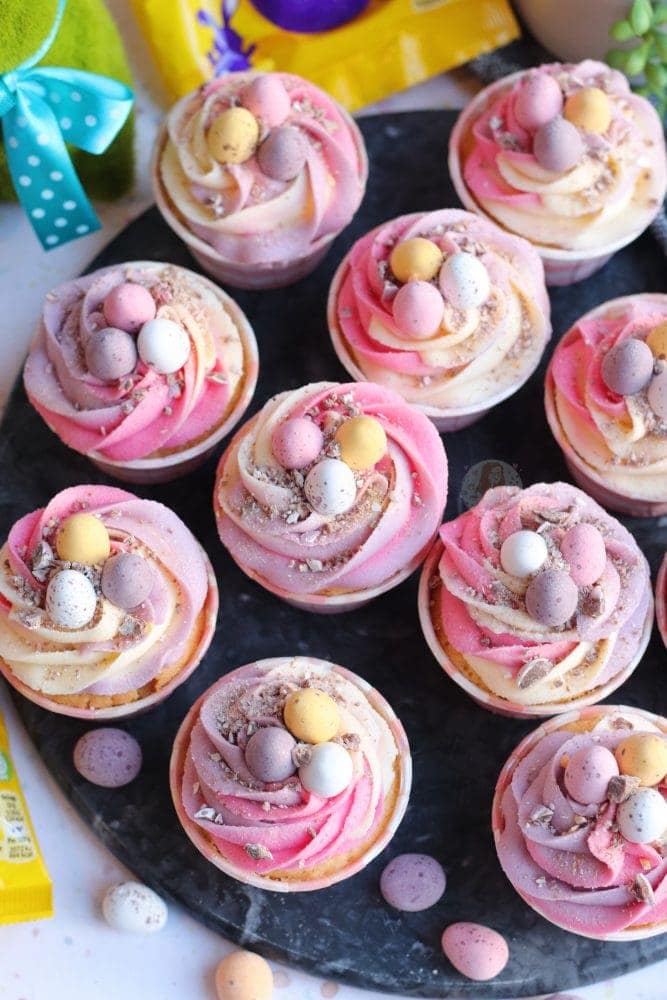
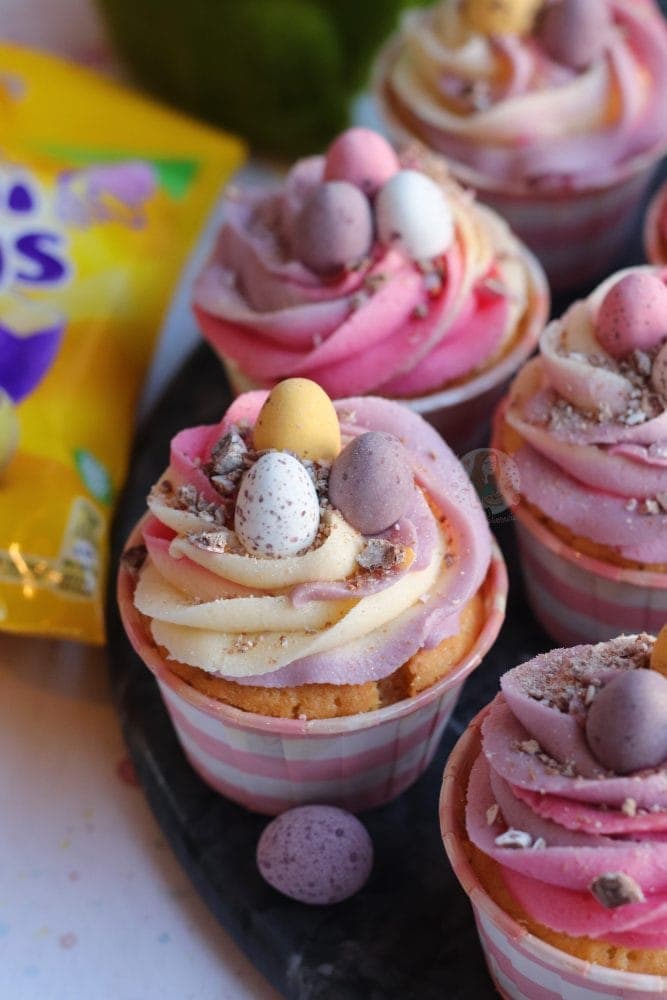
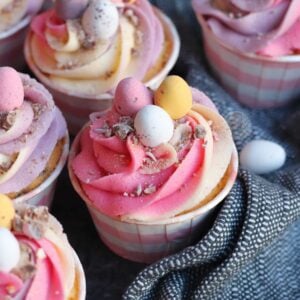
Vanilla cupcakes, hidden Mini Eggs, vanilla pastel frosting, and even more Mini Eggs! Perfect Mini Egg cupcakes!
Easter baking!
So, peak Easter Baking Season… and I post these. I know, I know… I’m messing with the system by posting such a corker now, but its MINI EGG SEASON STILL! I realise, Easter isn’t actually about chocolate, so don’t have a freakout… but when you’re a baking blogger, Easter is one of the busiest and best times of the year!
Anyway… I realise I have posted many a Mini Egg recipe since starting my blog, including quite a few this year alone, but I just can’t resist more. Mini Egg cupcakes?! How have I not posted these any sooner?! Honestly, I question my sanity so much because these are delightful.


I don’t know about you, but as much as I adore Christmas themed baking, Easter themed baking is just so damn pretty. Pastel colours and all the different chocolates are just the BEST. Just LOOK at these cupcakes! They are so pretty, and I am honestly just obsessed.
Cupcakes
There are several different ways of doing the actual cupcakes. You can have them as they are in the recipe, with a vanilla sponge, crushed Mini Eggs folded through. Or, you can hollow out the centre, and have Mini Eggs in the centre of the Cupcakes. Thirdly, you can even make the cupcakes chocolate flavour, by taking our 25g of flour, and adding in 25g of cocoa powder!
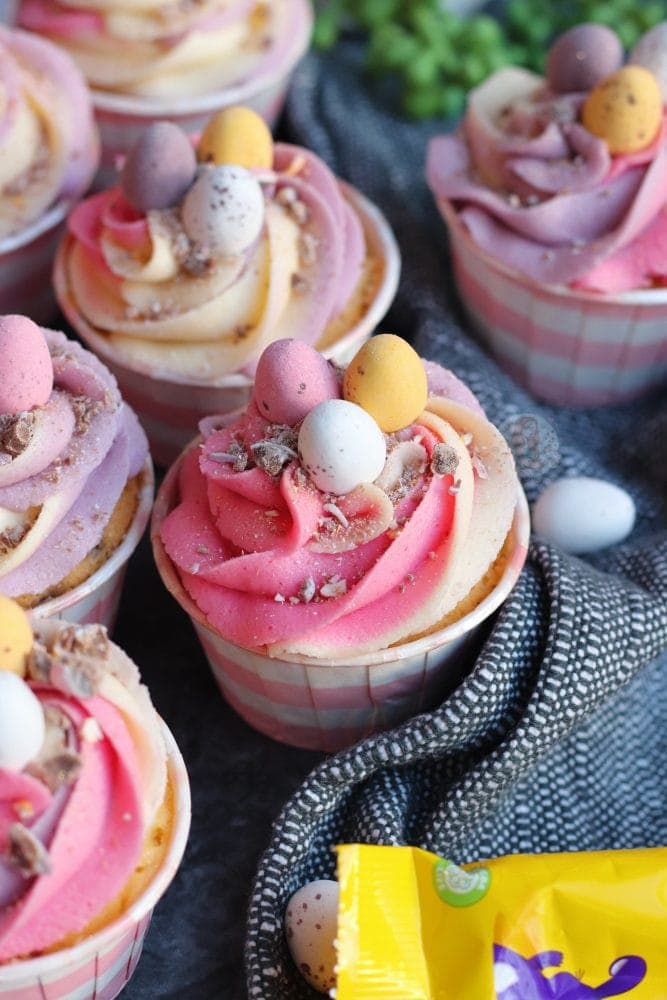
There are obviously other ways as well, but that’s how I’ve made them! Either way, the cupcakes themselves are utterly delicious, but the theme is really carried by the pastel buttercream swirls on top. Now, I realise that there are four colours of Mini Eggs, but… getting a white colour in the buttercream is really quite hard.
Food colouring
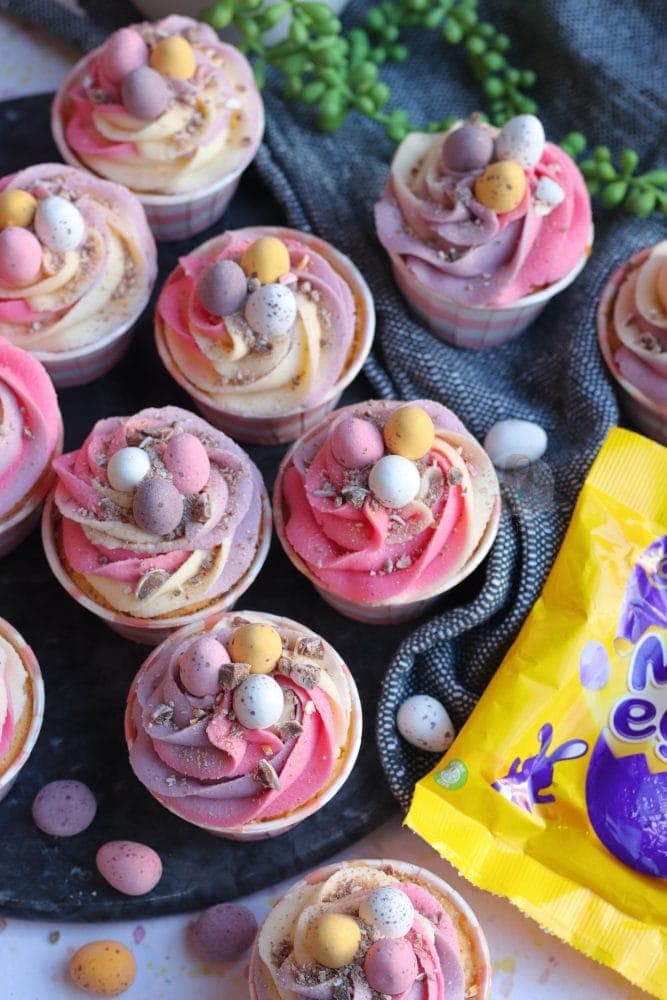
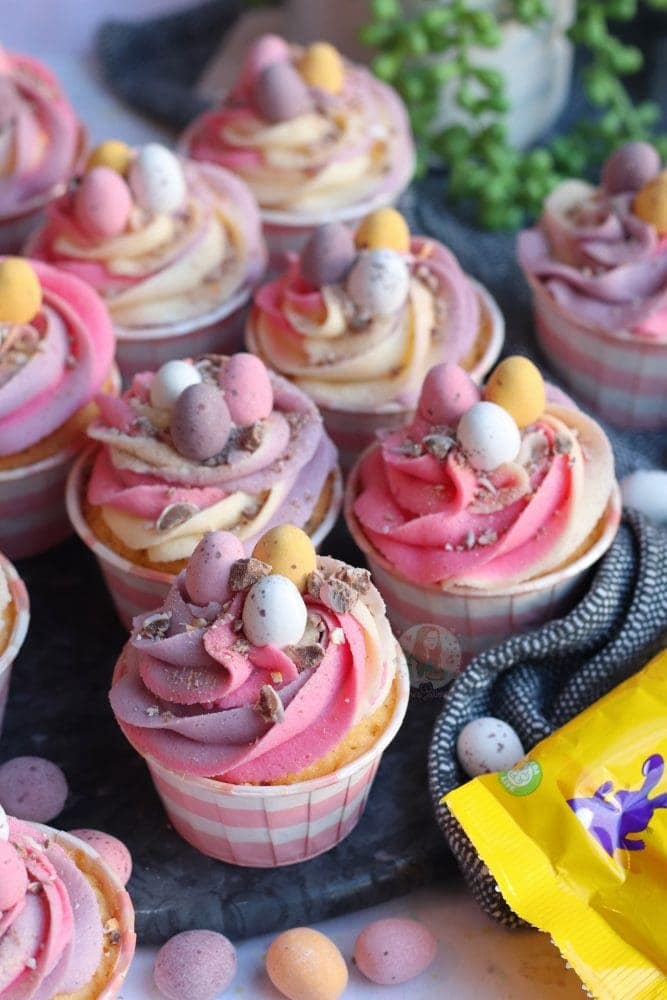
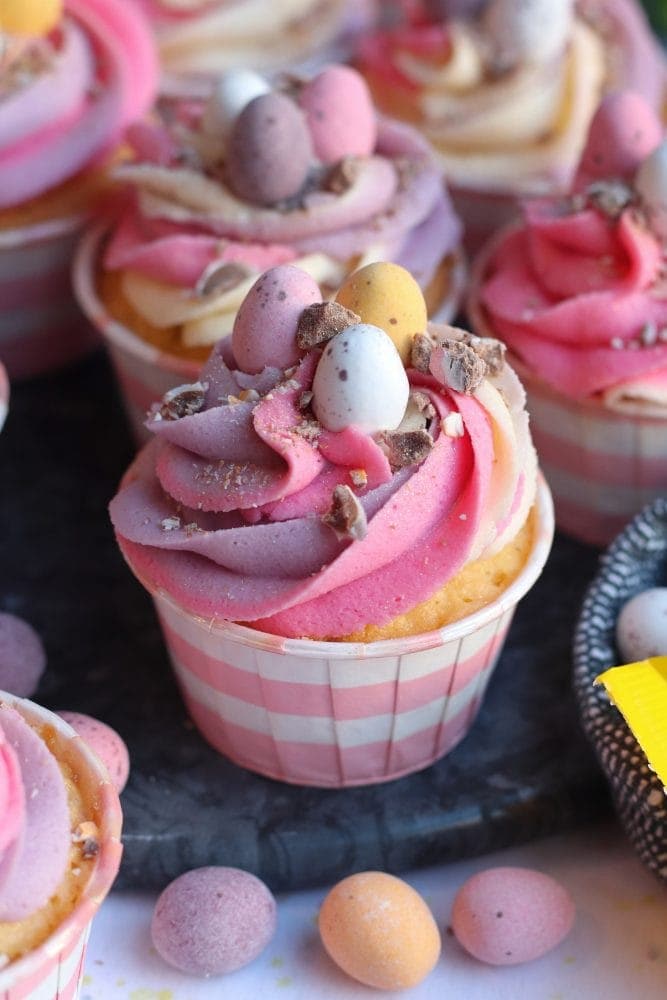
If you stick to the ideas of purple, pink and yellow, then you have a beautiful pastel swirl effect on the top of the cupcakes, and it just looks so perfect for Easter! Everything pastel is beautiful anyway, but it’s ideal at Easter time.
The colours I recommend for these bakes are this pink and this purple. They are my personal favourites because the pigmentation is so strong, and you need so little to colour your food. The purple food colour is my personal favourite as I don’t often use it – but the pink food colouring is a close second in being a favourite.
Baking cups
For my cupcake cases, I now ALWAYS use Iced Jems baking cups. They are a bloody wonderful invention, and they just look so darn pretty! You don’t have to use a muffin tray, which means I don’t have to spend half my life trying to fit my muffin tray back into my cupboard after baking, but you use just a regular flat baking tray instead!
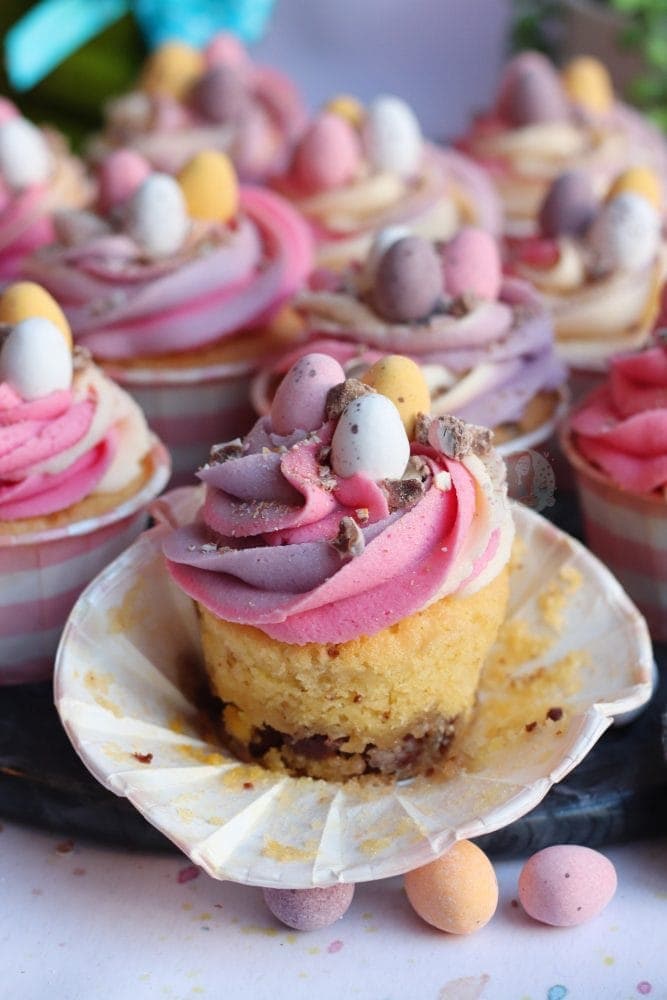
They come in all sorts of colours, and when you open them out they basically become a little plate too. I am slightly biased as I have been lucky enough to be sent some of them in the past by Jemma, but the number of times I have restocked the cupboard and had to buy more and more of them!
Other Mini Egg recipes
If like me, you are obsessed with Mini Eggs all year round, you can find many other Mini Egg recipes on my blog. There is a loaf cake, a layer cake and even millionaires shortbread – YUM!
Enjoy!
Anyway.. back to the cupcakes. They are just so cute, so yummy, and so perfect for Easter. Customise them as you please – but they are wonderful how they are! Enjoy! X
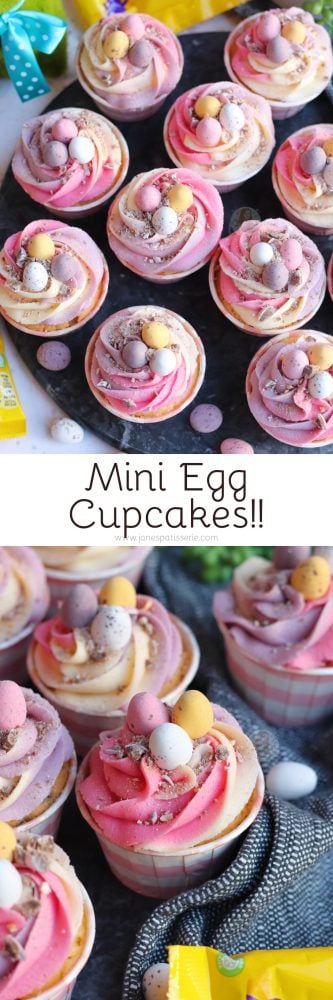
Mini Egg Cupcakes!
Ingredients
Cupcakes
- 150 g unsalted butter
- 150 g caster sugar
- 150 g self raising flour
- 3 medium eggs
- 1 tsp vanilla extract
- 200 g Mini Eggs
Buttercream
- 250 g unsalted butter (not stork)
- 500 g icing sugar
- 1 tsp vanilla extract
- Pink and purple food colouring
Extras
- Mini Eggs!
Instructions
Cupcakes!
- Preheat your oven to 180C/160C Fan, and get your cupcake cases ready!
- Beat together your butter and sugar until light and fluffy!
- Add in your flour, vanilla and eggs, and beat until smooth and delicious!
- Crush your 200g of Mini Eggs, and fold through the mixture!
- Split evenly between the cupcake cases, and bake in your oven for 18-22 minutes!
- Once baked, leave your cupcakes to cool fully before decorating.
Buttercream!
- Make sure your butter is at room temperature! Beat the butter on its own, for a few minutes to really loosen it and make it supple!
- Add in the vanilla extract, and the icing sugar, and beat until smooth and delicious.
- Split the buttercream evenly between three bowls, and colour to a pastel purple, pink and leave the third as it is for a yellow colour!
Decoration!
- Add your three colours of buttercream to a large piping bag, with a 2D closed star piping tip on!
- Pipe in swirls on top of the cupcakes, and sprinkle on some crushed Mini Eggs, and some sprinkles if you fancy!
Notes
- I find it easier to use three small piping bags, and add them into a large piping bag. However, you can just smush it in one and hope for the best!
- I used about 300-350g of Mini Eggs for these, but you can use more or less!
- You can leave the Mini Eggs out of the sponges if you prefer - or even hollow out the middle and add some in after baking!
- I recommend this purple colouring and this pink food colouring!
- And I use these Baking Cups from Iced Jems!
- These cupcakes will last for 3+ days at room temp!
Find my other recipes on my Recipes Page!
You can find me on:
Instagram
Facebook
Pinterest
Twitter
Youtube
J x
© Jane’s Patisserie. All images & content are copyright protected. Do not use my images without prior permission. If you want to republish this recipe, please re-write the recipe in your own words and credit me, or link back to this post for the recipe.
Hi Jane I made these cupcakes the other day for Easter and they are absolutely gorgeous I would Defiently make them again!! Thanks for an amazing festive recipe
Hi, just wondering if it’s possible to freeze these for later? I made your big chocolate version of the cake, but have buttercream left over and don’t want it going to waste, so was wondering if I could make these and freeze them for later?
Yes you can indeed!! They can freeze for up to 3+ months! x
When you say beat witch do you use on the mixer ? Witch head? Xx
Hiya! I always use the Flexi beater attachment on my kitchen aid. Hope this helps! x
Love the frosting colors on these!
Hi Jane, can the buttercream be made in advance and stored in the fridge? If so, how long does it keep and does it have to be mixed again before piping? Thanks
Hiya, it can be stored in the fridge for up to 2 weeks but it’ll need to be taken back to room temp and re-beaten anyway xx
Hi could you make these using m & m chocolates
Hey Jane,
Are sugar flair food colouring gels OK to use instead? Or are the rainbow ones better? Thanks
Hey! Yes they will work too xx
Hi! Probably a silly question but when you say you use 3 small piping bags for the buttercream and then 1 large one to pipe it on, do you mean you pipe the 3 small bags into the large one before? I’m going to do these for Easter but want to get the pastel buttercream perfect!!
No so for this I literally put each colour into its own piping bag, and then added all three piping bags to a bigger one. Now though, I tend to line the colours up on a piece of clingfilm, roll that into a sausage and then add that to a piping bag as its much easier! x