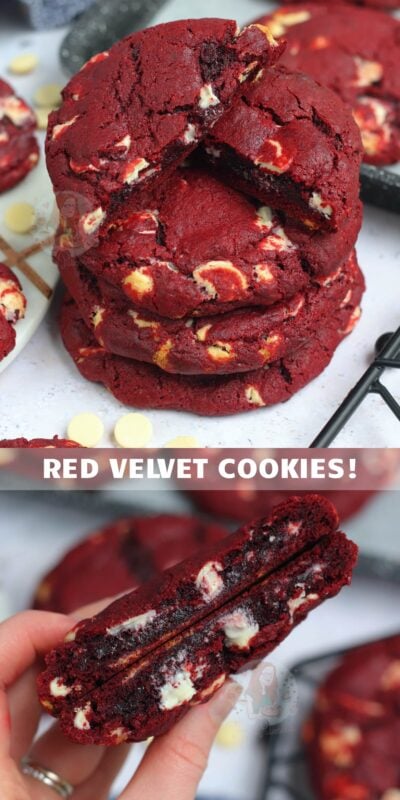
NYC Red Velvet Cookies!

*This post may contain affiliate links. Please see my disclosure for more details!*
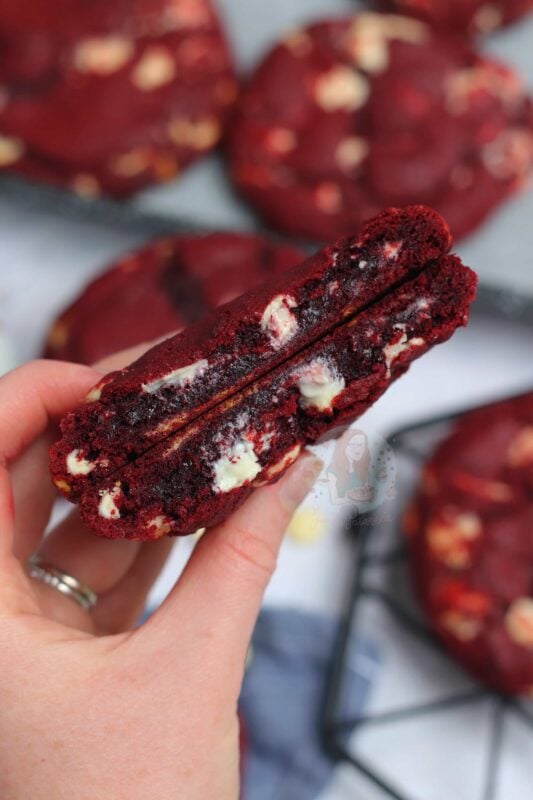
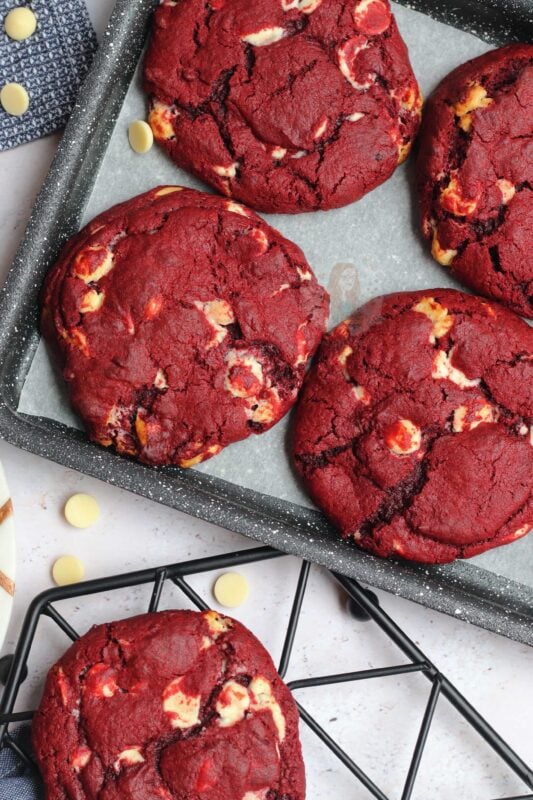
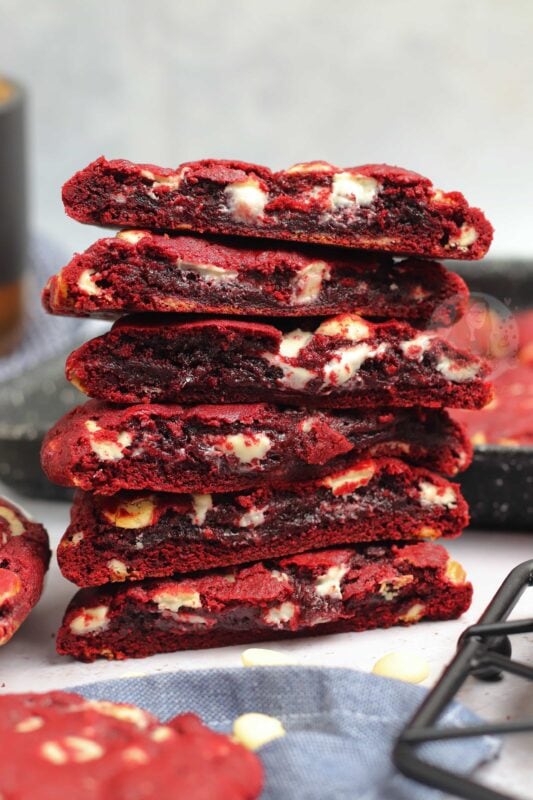
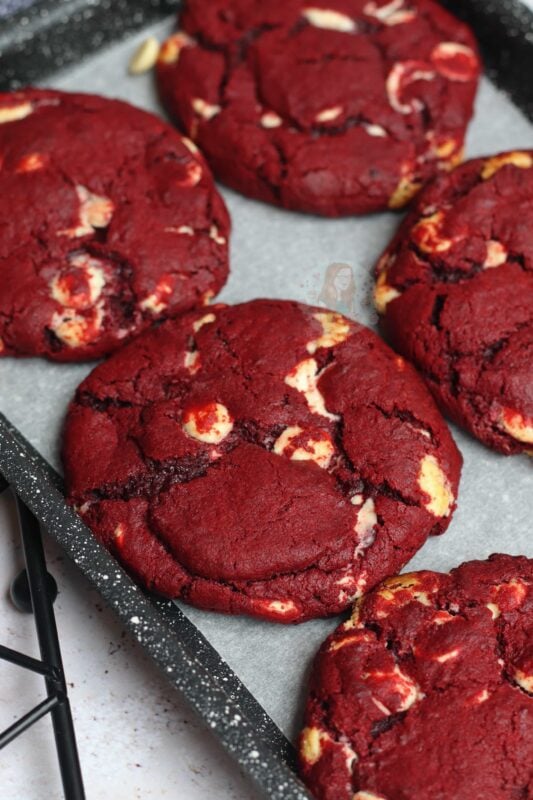
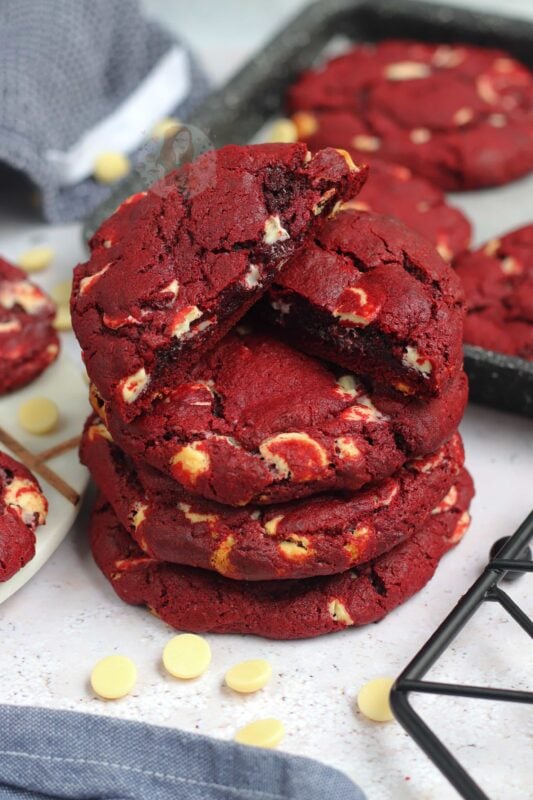
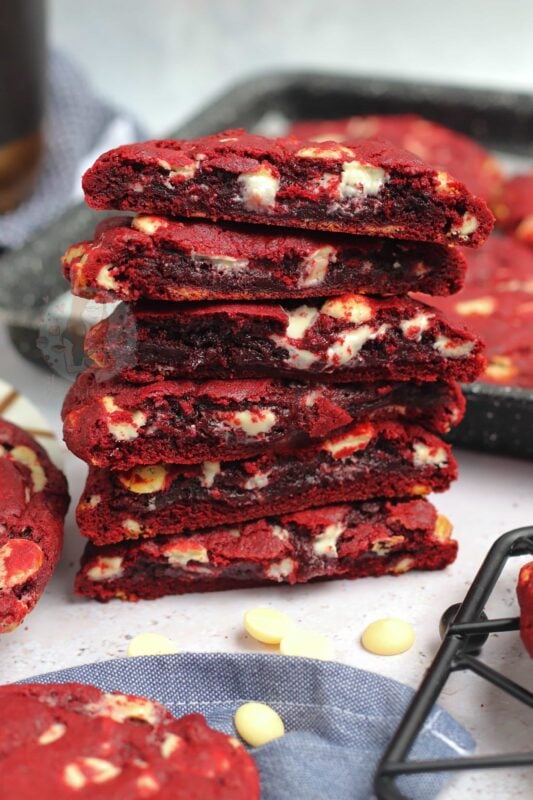
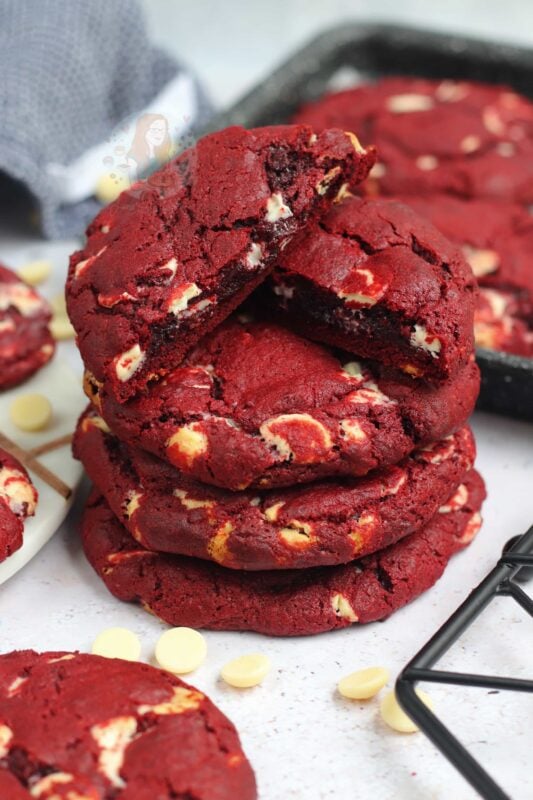
Gooey white chocolate chip New York style red velvet cookies – utter cookie heaven!
Cookies!
Oh hey yet another cookie recipe that you have ALL been asking for! I couldn’t resist. It was time for another cookie recipe. I mean, sorry if you don’t like cookies and all… but how can you not?! They’re the best.
These are, obviously, inspired by my NYC chocolate chip cookies, and my triple chocolate NYC cookies. These two recipes are SO GOOD and honestly, I’m astounded by how many of you already made them.
Red velvet NYC cookies
The thing is, since posting them, I am getting so many requests over and over for other versions – and by far one of the most popular requests was these. Red velvet cookies. I of course, was more than happy to oblige. Partly because I’d already made them!
These weren’t to be posted for a while – I do like to try and spread my recipes out a bit, have a bit of variation… but here we are. I like to give you what you want! These are gooey, they’re stuffed with white chocolate chips, and they have the wonderful red velvet flavour!
Red velvet
Red velvet, if you weren’t sure, is a mix of chocolate and vanilla – and red. The red colour typically comes from the mix of red food colouring, vinegar and buttermilk. These are classic, and feature in my red velvet cake and red velvet cupcakes.
When it comes to cookies though, you can’t treat them quite the same way, otherwise it wouldn’t be a cookie! Or at least, it wouldn’t be New York style chunky delicious cookie that we all want and adore so much.
Honestly these basically are a marriage of my two other NYC Cookies, but then influence by my other red velvet recipes. It’s a giant happy delicious mush of recipes. That doesn’t sound good when I phrase it like that… but it really is AMAZING.
Food colouring
One of the MOST IMPORTANT THINGS EVER when it comes to red velvet… is using the correct food colouring. I will say this now, as I do on all my other red velvet recipes… supermarket food colourings suck. They just don’t work.
No matter how many times I say that, people still use them, and people still complain that things aren’t red. I can’t help you with that… my advice in these posts is there for a reason! I do realise that buying food colourings online can be faffy and more expensive, but there is a reason – they are SO MUCH BETTER.
My favourite red food colouring is this one. It’s the only one I use for red velvet recipes now! Honestly, I always make sure I have some in the cupboard. The reason it’s so good, is that you only need to use a small amount to get the recipe to work.
It costs more than others, but you use less – therefore it equals out. You can use others… such as this christmas red, or even this wilton version – but my favourite by that is this one. I find with the others you need to use at least double in the recipe, and sometimes they’re still not as good.
No buttermilk or vinegar?
Because these are just cookies, the other ‘red velvet’ bits are simplified some what. You still have the cocoa powder, and the vanilla – to get the red velvet flavour, and you of course have the food colouring… but the buttermilk and vinegar is lacking. Luckily, because these are cookies, you don’t need it.
Chocolate
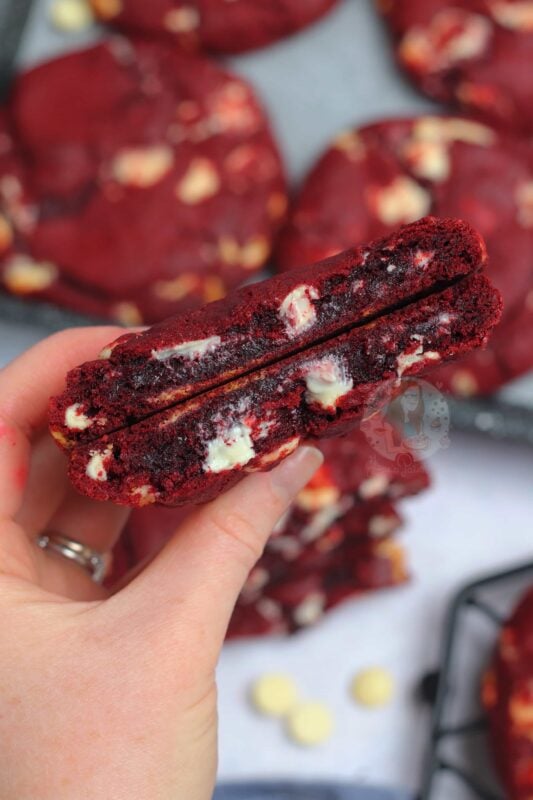
I use white chocolate chips because the colour makes me thing of cream cheese frosting, and I love the colour contrast – but you can use whatever type of chocolate you want. Milk, dark, flavoured and so on! You can also use a bar of chocolate that you chop up!
If you have any questions – let me know below! Happy red velvet cookie baking! x

NYC Red Velvet Cookies!
Ingredients
- 125 g unsalted butter
- 100 g light brown sugar
- 75 g white granulated sugar
- 1 medium egg
- 1 tsp vanilla extract
- 1 tsp red food colouring
- 265 g plain flour
- 15 g cocoa powder
- 1 + 1/2 tsp baking powder
- 1/2 tsp bicarbonate of soda
- 1/2 tsp sea salt
- 300 g white chocolate chips (or chopped chocolate)
Instructions
- Add your butter and sugars to a bowl and beat until creamy - I use my stand mixer with the beater attachment!
- Add in your egg, vanilla and red food colouring and beat again.
- Add in the plain flour, cocoa powder, baking powder, bicarbonate of soda, and salt and beat until a cookie dough is formed!
- Add in your white chocolate chips and beat until they're distributed well!
- Weigh your cookies out into eight cookie dough balls - they're about 115-120g each! If you don't want them as big, feel free to make them smaller.
- Once they're rolled into balls, put your cookie dough in the freezer for at least 30 minutes, or in the fridge for an hour or so!
- Whilst the cookie dough is chilling, preheat your oven to 180C Fan, or 200C regular! If your oven runs hot, go for 160C-170c.
- Take your cookies out of the freezer/fridge and put onto a lined baking tray. I put four cookies per tray!
- Bake the cookies in the oven for 12-14 minutes. I don't personally flatten the cookies, as they flatten enough during baking - however, if you like flat cookies, flatten them a bit before baking. If you've made half size, they'll take about 9 minutes to bake.
- Once baked, leave them to cool on the tray for at least 30 minutes, as they will continue to bake whilst cooling! They make look a little raw when they come out - but trust me.
- ENJOY!
Notes
- These are best eaten on the day of baking, but can be revived by microwaving for 15-30 seconds, or putting into a hot oven for 2-3 minutes!
- You can freeze the raw cookie dough easily, and bake from frozen if you don't want to bake the entire batch! If you are baking straight from frozen after some time, I usually bake for the same 12-14 minutes, at the same temp, but an extra couple minutes won't hurt!
- Once baked, these will last for 4-5+ days!
- I recommend using this red food colouring!
- Pre warning... liquid/supermarket colourings do NOT work.
- I use this white chocolate in my baking!
- If your oven runs hot you will want to reduce the temp slightly as mentioned in the method!
- If you can't access one of the sugars, use all of the other one - i.e. all granulated, or all light brown sugar. Using other sugars can change the texture.
- If you want to use self raising flour instead, swap the flours straight out, and also leave out the baking powder. Still use the bicarbonate though!
ENJOY!
Find my other Recipes on my Recipes Page!
You can find me on:
Instagram
Facebook
Pinterest
Twitter
Youtube
J x
© Jane’s Patisserie. All images & content are copyright protected. Do not use my images without prior permission. If you want to republish this recipe, please re-write the recipe in your own words and credit me, or link back to this post for the recipe.
Hi Jane,
I love ur recipes but, this one tasted a little salty probably because of the baking powder. So what do u think must have gone wrong?
The salty flavour can come from over measuring the salt, and the bicarbonate usually – you definitely don’t want to over measure on raising agents as it will unfortunately x
Very very delicious !
Can I ask why won’t liquid food colourings works? What happens if you use them? Just out of curiosity!
They are basically just awful and won’t ever work – anything from a supermarket just isn’t good enough. They won’t be red, can ruin the mixture, and sometimes taste weird because of the sheer volume you have to use x
I adore your recipes, Jane! This one did not disappoint. They turned out perfectly for me. Thank you so much! 😊🍪
Hi Jane,
I tried your recipe last night but unfortunately my cookies have come out tasting quite floury. I weighed the ingredients out and cooked for 12 minutes on a 180 fan oven. Any thoughts/suggestions on why this might be or what I need to do to fix it? Excited to try again as so many good reviews above!
It could be that they are slightly over done (depends on your oven) so it dried them a bit. But also, it can depend on how you mixed it – it might not be mixed properly x
Did you use melted butter or just softened?
Neither really – if you use baking spread just use it straight from the fridge, and butter you can also (it just takes longer to mix) or let that be slightly more towards room temp.
Hi Jane. I just have a quick question. What is the reason for putting the cookie dough into fridge or freezer before baking? I have just made a batch and didnt put in fridge or freezer and i. Afraid at how they will turn out. Thanks
It can effect the texture/spread without chilling x
Hi Jane! If I have Red Velvet flavoring, does that mean I can use that to swap the red food coloring + vanilla extract but I should still keep the cocoa powder?
I’m really not sure – I’ve never seen it before! x
Hi Jane, i was wondering if you make the batch of cookies but want to cook them the next day to save time; is it best to keep them in the fridge or freezer overnight?
Fridge is perfectly fine for about up to 48 hours, but freezer is also fine! xx
Hi Can these be frozen after baking? Thanks
They can!
I’ve made these several times now and absolutely love them! So do my family and I get regular requests to make them! So glad I found this website!
These came out beautifully thank you Jane as a fellow bbaker and wanted to kick off 2026 with a new recipe this was a perfect start !
You can have a nose on my instagram page
@bakedbycharli_
Happy new year ! 🗽🍪
Hi Jane,
I adapted this recipe and your cookie dough bar recipe to try and make red velvet cookie dough bars. I switched 15g of flour for 15g of cocoa and added 1 tsp of red food colouring gel instead of vanilla. I used the dr oetker extra strong red.
Unfortunately they came out more of pinky/brown colour. Any suggestions on how I could improve the recipe to make them the same striking red as pictured? Thank you so much!
Hiya! So as mentioned on the post, supermarket colours will not work. I’ve linked to the ones I recommend!
The dough was extremely hard to work. Should that be so??
I’m not sure what you mean by hard to work sorry? Have a look at my NYC Cookies video on YouTube as it’s very similar to this one.
Hi,
Can you make one giant cookie with this recipe?
Hey! Yes you will want to lower the temp and bake for longer – about 20-25 minutes!
Can you post the recipe in cups please
I don’t measure in cups, sorry!