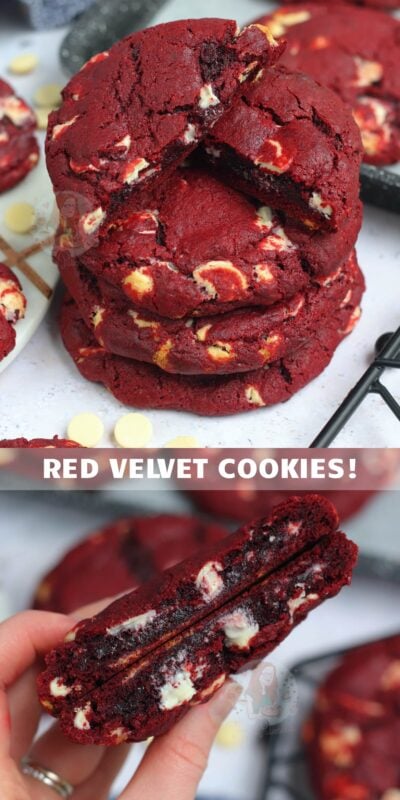
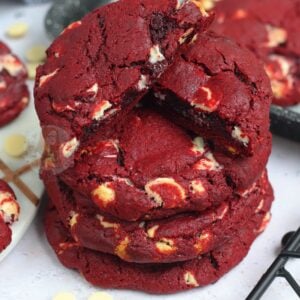
NYC Red Velvet Cookies!

*This post may contain affiliate links. Please see my disclosure for more details!*
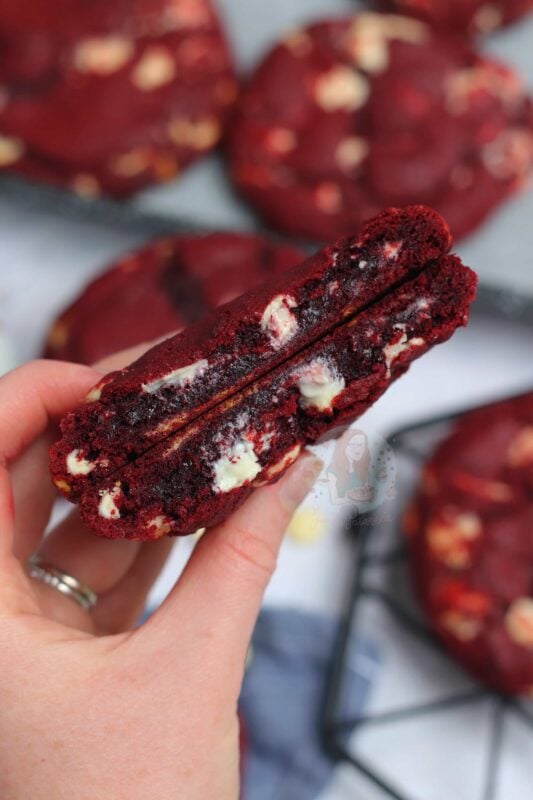
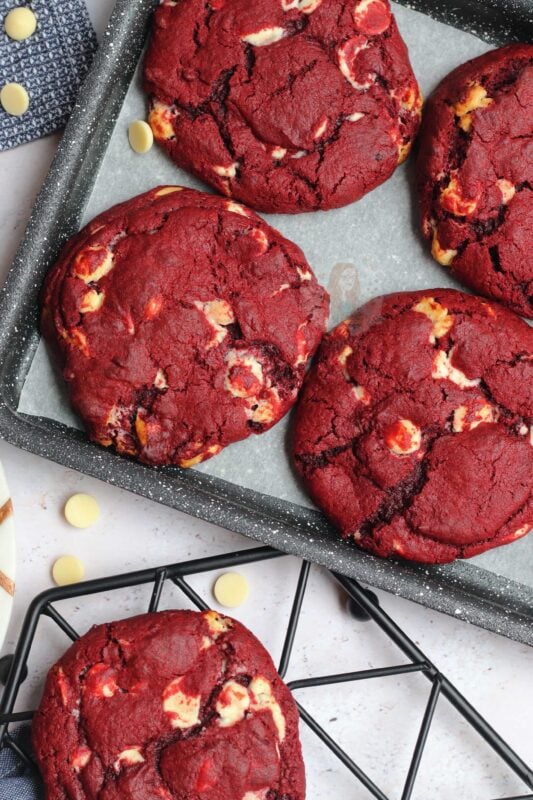
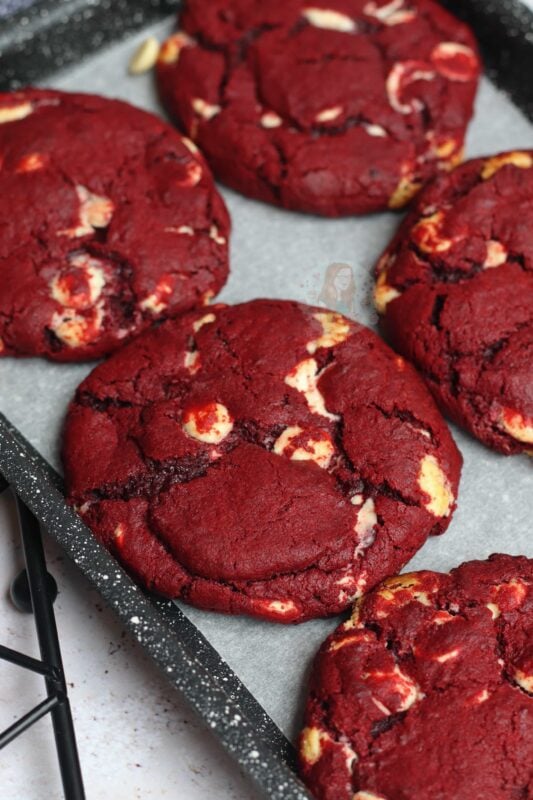
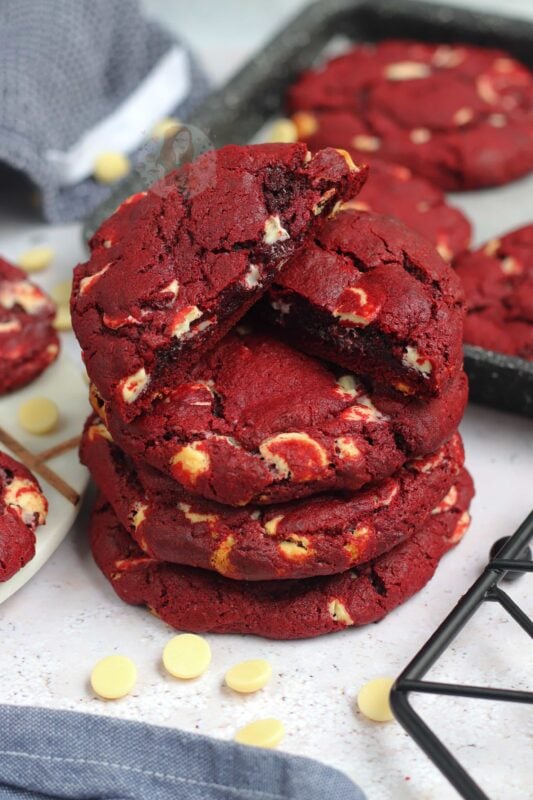
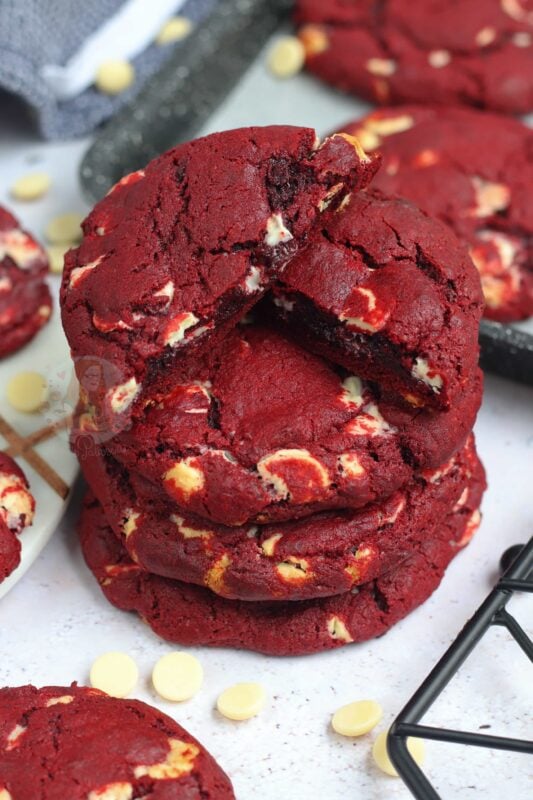
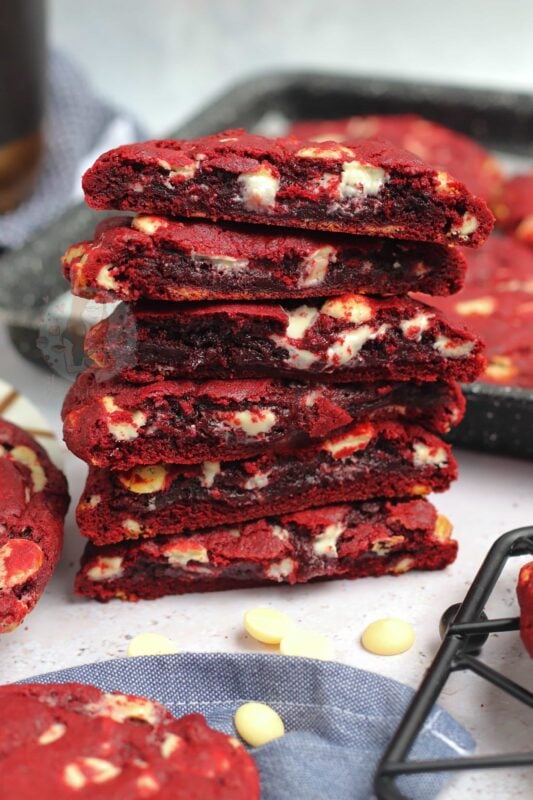
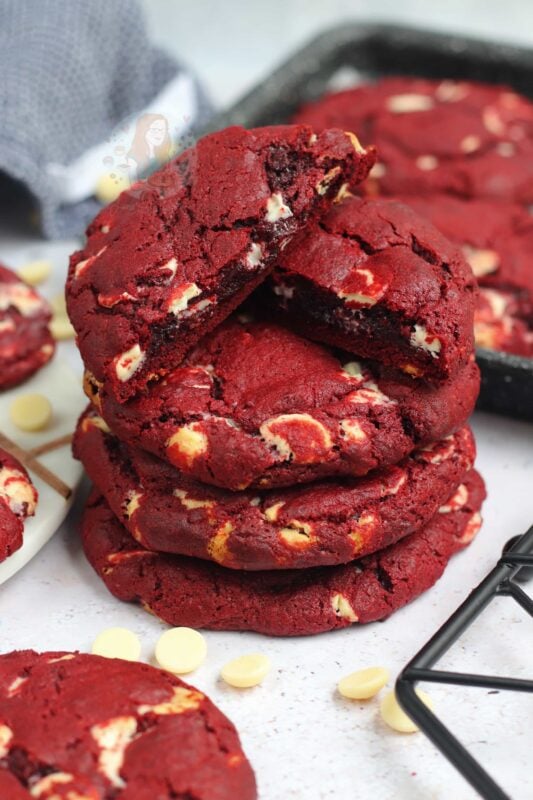
Gooey white chocolate chip New York style red velvet cookies – utter cookie heaven!
Cookies!
Oh hey yet another cookie recipe that you have ALL been asking for! I couldn’t resist. It was time for another cookie recipe. I mean, sorry if you don’t like cookies and all… but how can you not?! They’re the best.
These are, obviously, inspired by my NYC chocolate chip cookies, and my triple chocolate NYC cookies. These two recipes are SO GOOD and honestly, I’m astounded by how many of you already made them.
Red velvet NYC cookies
The thing is, since posting them, I am getting so many requests over and over for other versions – and by far one of the most popular requests was these. Red velvet cookies. I of course, was more than happy to oblige. Partly because I’d already made them!
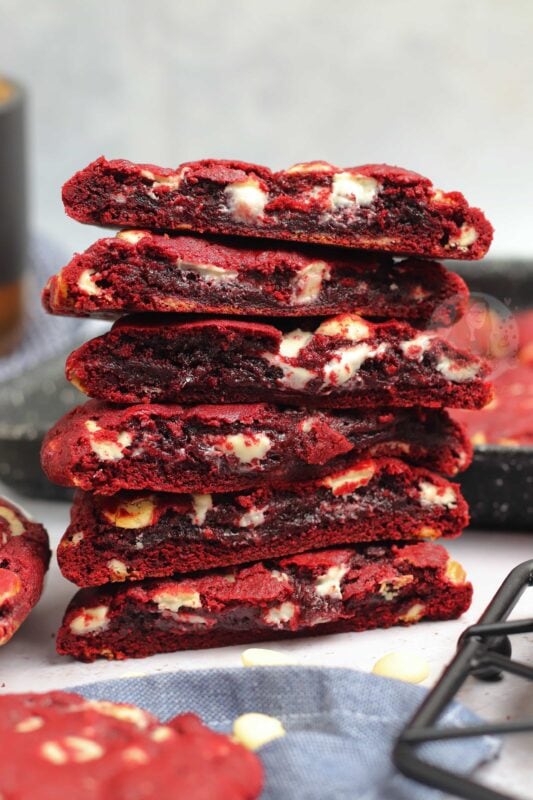
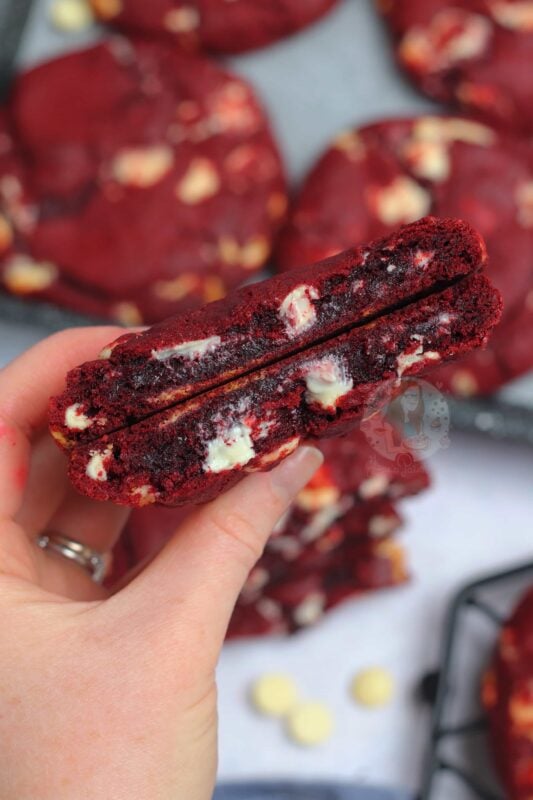
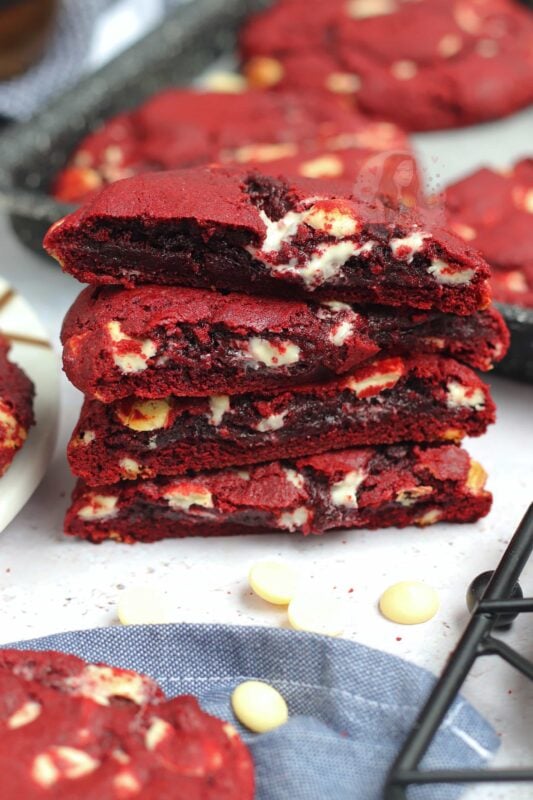
These weren’t to be posted for a while – I do like to try and spread my recipes out a bit, have a bit of variation… but here we are. I like to give you what you want! These are gooey, they’re stuffed with white chocolate chips, and they have the wonderful red velvet flavour!
Red velvet
Red velvet, if you weren’t sure, is a mix of chocolate and vanilla – and red. The red colour typically comes from the mix of red food colouring, vinegar and buttermilk. These are classic, and feature in my red velvet cake and red velvet cupcakes.
When it comes to cookies though, you can’t treat them quite the same way, otherwise it wouldn’t be a cookie! Or at least, it wouldn’t be New York style chunky delicious cookie that we all want and adore so much.
Honestly these basically are a marriage of my two other NYC Cookies, but then influence by my other red velvet recipes. It’s a giant happy delicious mush of recipes. That doesn’t sound good when I phrase it like that… but it really is AMAZING.
Food colouring
One of the MOST IMPORTANT THINGS EVER when it comes to red velvet… is using the correct food colouring. I will say this now, as I do on all my other red velvet recipes… supermarket food colourings suck. They just don’t work.
No matter how many times I say that, people still use them, and people still complain that things aren’t red. I can’t help you with that… my advice in these posts is there for a reason! I do realise that buying food colourings online can be faffy and more expensive, but there is a reason – they are SO MUCH BETTER.
My favourite red food colouring is this one. It’s the only one I use for red velvet recipes now! Honestly, I always make sure I have some in the cupboard. The reason it’s so good, is that you only need to use a small amount to get the recipe to work.
It costs more than others, but you use less – therefore it equals out. You can use others… such as this christmas red, or even this wilton version – but my favourite by that is this one. I find with the others you need to use at least double in the recipe, and sometimes they’re still not as good.
No buttermilk or vinegar?
Because these are just cookies, the other ‘red velvet’ bits are simplified some what. You still have the cocoa powder, and the vanilla – to get the red velvet flavour, and you of course have the food colouring… but the buttermilk and vinegar is lacking. Luckily, because these are cookies, you don’t need it.
Chocolate
I use white chocolate chips because the colour makes me thing of cream cheese frosting, and I love the colour contrast – but you can use whatever type of chocolate you want. Milk, dark, flavoured and so on! You can also use a bar of chocolate that you chop up!
If you have any questions – let me know below! Happy red velvet cookie baking! x
NYC Red Velvet Cookies!
Ingredients
- 125 g unsalted butter
- 100 g light brown sugar
- 75 g white granulated sugar
- 1 medium egg
- 1 tsp vanilla extract
- 1 tsp red food colouring
- 265 g plain flour
- 15 g cocoa powder
- 1 + 1/2 tsp baking powder
- 1/2 tsp bicarbonate of soda
- 1/2 tsp sea salt
- 300 g white chocolate chips (or chopped chocolate)
Instructions
- Add your butter and sugars to a bowl and beat until creamy - I use my stand mixer with the beater attachment!
- Add in your egg, vanilla and red food colouring and beat again.
- Add in the plain flour, cocoa powder, baking powder, bicarbonate of soda, and salt and beat until a cookie dough is formed!
- Add in your white chocolate chips and beat until they're distributed well!
- Weigh your cookies out into eight cookie dough balls - they're about 115-120g each! If you don't want them as big, feel free to make them smaller.
- Once they're rolled into balls, put your cookie dough in the freezer for at least 30 minutes, or in the fridge for an hour or so!
- Whilst the cookie dough is chilling, preheat your oven to 180C Fan, or 200C regular! If your oven runs hot, go for 160C-170c.
- Take your cookies out of the freezer/fridge and put onto a lined baking tray. I put four cookies per tray!
- Bake the cookies in the oven for 12-14 minutes. I don't personally flatten the cookies, as they flatten enough during baking - however, if you like flat cookies, flatten them a bit before baking. If you've made half size, they'll take about 9 minutes to bake.
- Once baked, leave them to cool on the tray for at least 30 minutes, as they will continue to bake whilst cooling! They make look a little raw when they come out - but trust me.
- ENJOY!
Notes
- These are best eaten on the day of baking, but can be revived by microwaving for 15-30 seconds, or putting into a hot oven for 2-3 minutes!
- You can freeze the raw cookie dough easily, and bake from frozen if you don't want to bake the entire batch! If you are baking straight from frozen after some time, I usually bake for the same 12-14 minutes, at the same temp, but an extra couple minutes won't hurt!
- Once baked, these will last for 4-5+ days!
- I recommend using this red food colouring!
- Pre warning... liquid/supermarket colourings do NOT work.
- I use this white chocolate in my baking!
- If your oven runs hot you will want to reduce the temp slightly as mentioned in the method!
- If you can't access one of the sugars, use all of the other one - i.e. all granulated, or all light brown sugar. Using other sugars can change the texture.
- If you want to use self raising flour instead, swap the flours straight out, and also leave out the baking powder. Still use the bicarbonate though!
ENJOY!
Find my other Recipes on my Recipes Page!
You can find me on:
Instagram
Facebook
Pinterest
Twitter
Youtube
J x
© Jane’s Patisserie. All images & content are copyright protected. Do not use my images without prior permission. If you want to republish this recipe, please re-write the recipe in your own words and credit me, or link back to this post for the recipe.
Hi💗 i wanted to ask how much time should i give them in the oven if i want smaller cookies- about 40 gr per cookie
Thank you fir the recipe💗💗
I would suggest 8 min if you put them in from the refrigerator. If they are frozen then about 10 min, maybe 11. You will smell them when they are ready 😉
They came out delicious but they didn’t flat while baking. So I had to flat them by myself after baking. :((
This is either because your oven runs hot, or the cookie dough was rolled too tightly before baking x
Hi! Can I ask if the cocoa powder you used is natural or the dutch-processed? Also, if I can use liquid food color instead of the gel one? Would love to hear your response. Thank you!
One of the best cookies I ever baked! Thank you!
I made cream cheese filling ( cream cheese with eggs, vanilla and icing sugar) and filled the cookies before freezing them … I got to say it just elevated the whole cookie taste .. they became more irritable 😁😁
Delicious! I’ve made these before but this time used half semi sweet chocolate chips and half mini chocolate chips. Super good! I use Americolor food gel and only need 1/2 tsp and they still come out very red. One important note is that they definitely need to be squished down because they hold their shape very well and come out too thick and small in diameter if rolled into balls. I formed more of a disk shape and they come out more how I like them, and still thick and yummy.
Hiya! If your cookies don’t naturally flatten its because the cookie dough is likely rolled too tightly, the oven is too hot, or the cookie dough is over worked. I never squish them down before baking x
With regards to food colouring, would the red colour splash brand work? x
I personally always use the red extra linked for all red velvet bakes as it’s the strongest, but that one should work for the cookies!
Hi. I tried your recipe for red velvet
cookies. Mine spread a bit but still very chewy inside and crunchy on the edges. Super yummy! Thanks for sharing your recipe.
Absolutely delicious and so simple!! My cookies didn’t spread much and I had to flatten them out. How do I avoid this next time? x
Hiya! This can be due to overworking the dough, rolling the balls too tightly or your oven being too hot! Hope this helps! x
Amazing!! Thank you. I didn’t have any red gel colouring so randomly used blue. Side note they turned out a Christmas coloured green. These are the bomb, the whole family loved them. Thank you for all the tips and easy to follow recipe.
Are u able to swap the choc chips and butter to dairy free brands ?
Hiya! Yes, this should be fine! x
Hiya Jane, would I be able to use this recipe for a cookie pie dough?
Hiya! I personally have not tried this, but it is definitely worth a go! Let me know how it turns out! x
SO GOOD! I saw on Instagram that someone made these and I instantly knew I had to make them! Less than 24 hours later I was whipping up the batter lol. They came out so good, they taste just like red velvet! Like I always eat cookies, I pop them in the microwave before snacking on one and they’re perfect. LOVE this recipe!!!
Am I the only one here utterly confused. How is the ratio 265 grams, which is 2 1/8 cups , and only 125 grams butter correct
That battery would be SO INCREDIBLY DRY. How many cups did you use? Am I getting the measurements wrong?? Thank you
Quite sure I am so late to respond, but 1 cup is roughly 250 gr of dry ingredients, aka flour (for example). So yes, your conversion of measurements was wrong. Also, don´t forget about the egg, it also adds moisture 🙂
1 cup flour is actually just 125-150 g depending who you ask. I made it and thought it wouldn’t work while I was mixing in the big amount of flour. Thankfully the cookies turned out great. They barely spread so they were thick and yummy.
These just came out of the oven and WOW! My favorite part is that every cookie held its shape. I’m a huge fan thicker cookies and these did not disappoint. The 2 ounce size is what I was looking for and that’s what I got! Thank you for a delicious recipe!
Yaaaay I’m so glad you loved them!! Enjoy! x
Based on the other comments in the reviews that said it turned out dry I used 2 eggs and 1.5x the rest of the ingredients so that there was 25% extra egg. Baked at 170 for the full 14 minutes. Came out perfectly.
These are SO delicious. I love these NYC cookies, I’m working my through them all and loved every one so far. I just had one whilst it was still warm and my goodness…
This was the comment I was looking for! Thank you!🫶
Hi Jane! I made the cookies and I followed all the steps correctly and I used the exact same ingredients but my cookies turned out really dry.
Has it happened to you or anyone before? I don’t know what I did wrong, but i’m sure your recipe is awesome.
Thank You!
Likely is because you are in a different country the ingredients were different, but also cookies can easily be over baked so that may also be it!
Hi, a little question: can these be made in the airfryer? Love to hear from you x
Hey Jane
Do you have an eggfree / vegan version of this?
Thank you