Homemade Hobnobs Recipe

*This post may contain affiliate links. Please see my disclosure for more details!*
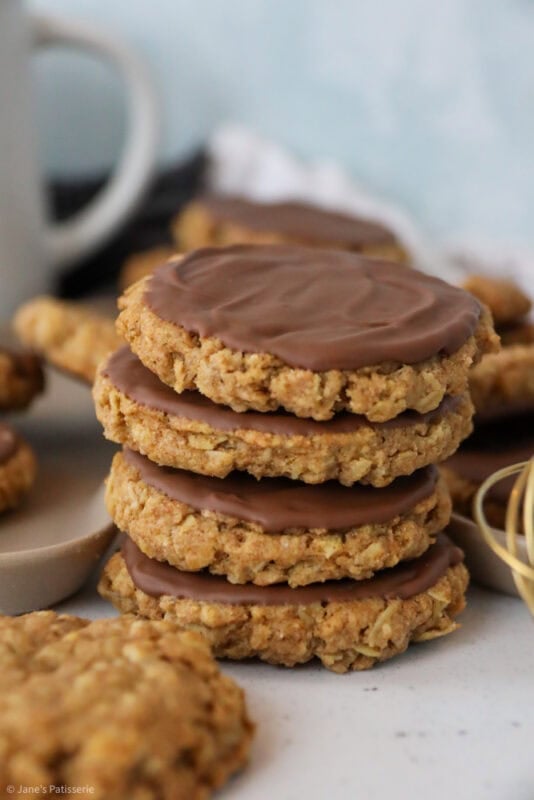
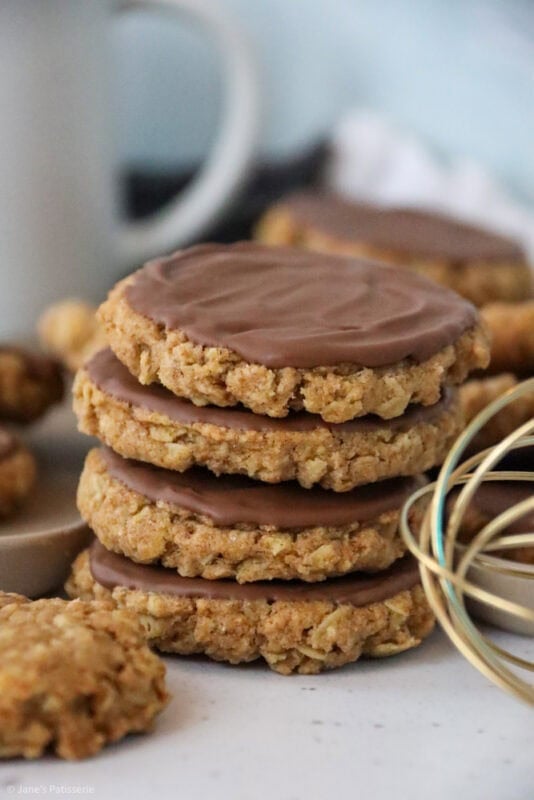
A delicious homemade version of an iconic classic biscuit, the Hobnob. This homemade hobnobs recipe is easy, tasty and moreish.
We all knew it was only a matter of time until I made a homemade version of a hobnob. This is now one of my favourite biscuits recipes I have ever written, and I can’t stop making them.
Classic biscuits
So, I have made and published countless biscuit recipes over the years, from a New York style cookie, to raspberry cheesecake cookies, to banoffee cookies and more. However, when it comes to the real classics, I have done many.
My homemade bourbon biscuit recipe is very popular, even with myself making it again last week because I craved a batch. My homemade jammie dodgers has been on this blog for years and years, and I still make them. My fifth book Classic has my homemade oreo biscuit recipe in, and my third book Everyday has my homemade custard creams in. My favourite however, A HOBNOB.
Hobnobs
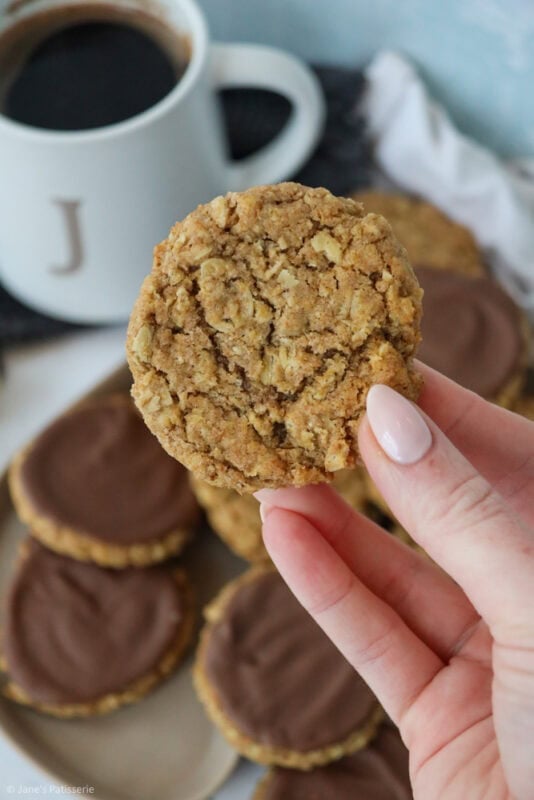
I am genuinely not just saying I love hobnobs for the sake of it, I promise. I always have a biscuit jar in my kitchen, just incase I want a little snack or someone wants a biccie with their cup of tea, and it’s always hobnobs. The delicious oaty biscuit, sometimes topped with chocolate depending on which packet you go for, they are SO GOOD.
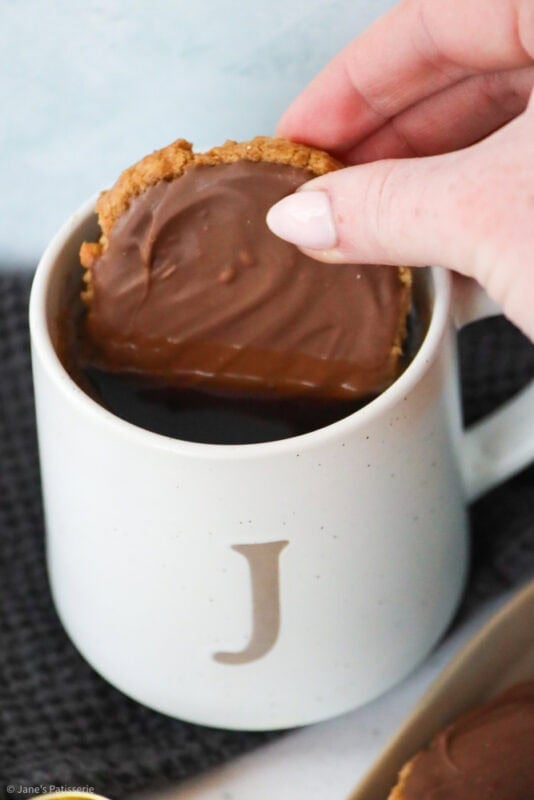
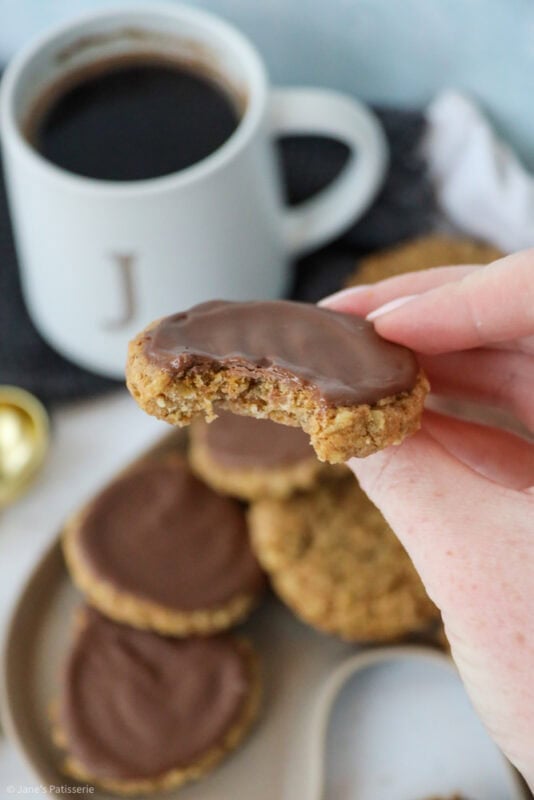
If you are from the UK, you will undoubtedly know what a Hobnob is.. they have been around the 80s, and they are great. If you haven’t managed to have a hobnob before, they are basically an oat biscuit merged with a flapjack style digestive biscuit. They are packed full of flavour, they are great for dunking, and they are also great to make yourself at home.
Biscuit Dough
This biscuit dough is naturally egg free, which is super handy for those who don’t eat eggs. It’s a relatively simple recipe and pretty easy to mix together. I do use my stand mixer, but you definitely don’t need one to be able to make them.
- Butter – you can use block butter, slightly more towards room temp, or a baking spread straight out of the fridge.
- Sugar – for the best flavour and classic aim of a hobnob, it’s best to use light brown soft sugar
- Syrup – this is a key ingredient to make the classic again, golden syrup. It also helps make the dough and stick the dough together.
- Oats – I use rolled oats, and they are the best. Some porridge oats or quick oats might make a softer cookie
- Raising agent – For the texture, you need a little bicarbonate of soda
- Salt – a small sprinkling of salt is needed to again make these as accurate as possible
- Flour – this is also VERY important… if you want to make these as accurate as possible, you should use wholemeal flour. I use plain wholemeal flour, and it’s ideal. However, if you really do not want to use it or can’t buy it, you can definitely use plain white flour, but the flavour will be slightly different.
Making and baking the cookies
This cookie dough does come together like most doughs do. I beat together the butter, sugar and syrup and then add in the oats, bicarbonate of soda, salt and flour. If you don’t have an electric mixer, it will come together, you just need to give the mix a little bit of welly to make sure it combines.
Once prepped, I portion the cookies. When portioning these cookies to make them as accurate as possible, I use this scoop. It’s a 4cm scoop so smaller than the normal one I use for cookies as I purposely wanted to make the cookies more accurate in size as well. If you don’t have the scoop, you can just use a heaped tablespoon of cookie dough. I roll them lightly into balls.
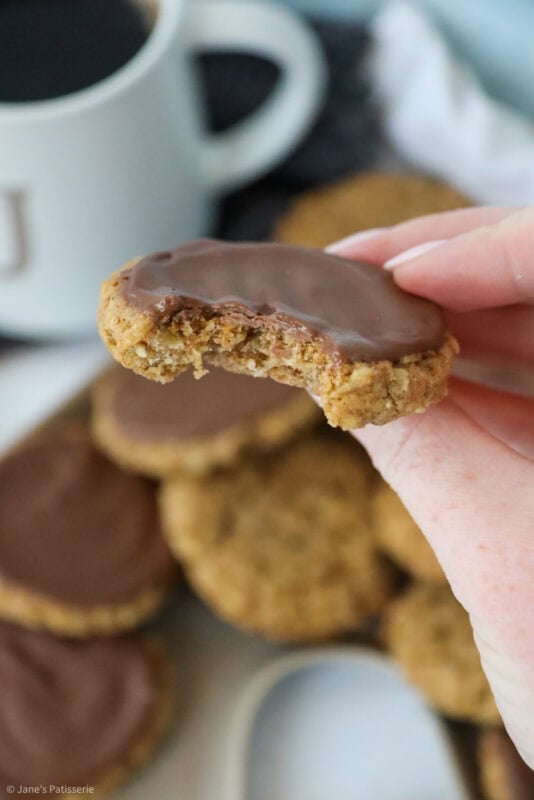
Once they are portioned, you want to flatten each cookie down onto lined trays. You don’t have to flatten them, but to get the more classic size and shape of a hobnob it’s best to flatten them a bit. I usually squash the cookies down by half, and having made sure each cookie was already in a ball they should retain their shape once baked. I bake in the oven for 12-15 minutes, and then let them cool fully. The longer you bake them, the crunchier they will be. I generally go more for the 15 minutes for the crunchy texture.
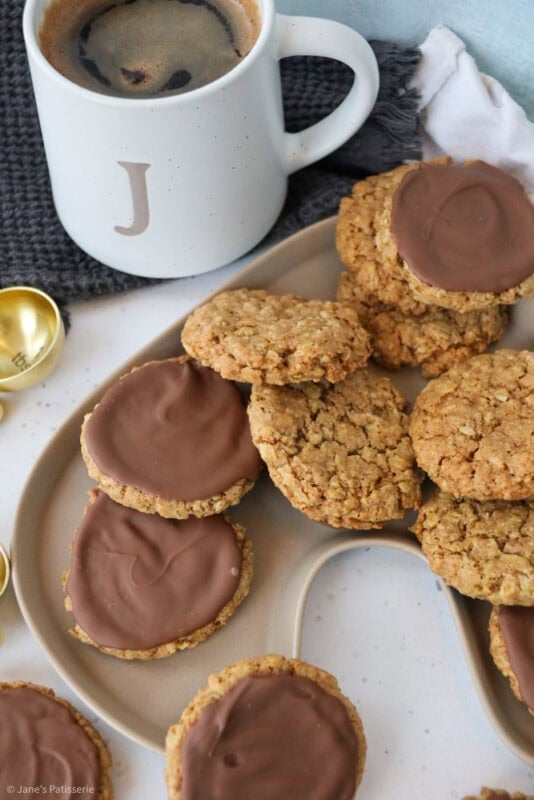
Chocolate or no chocolate?!
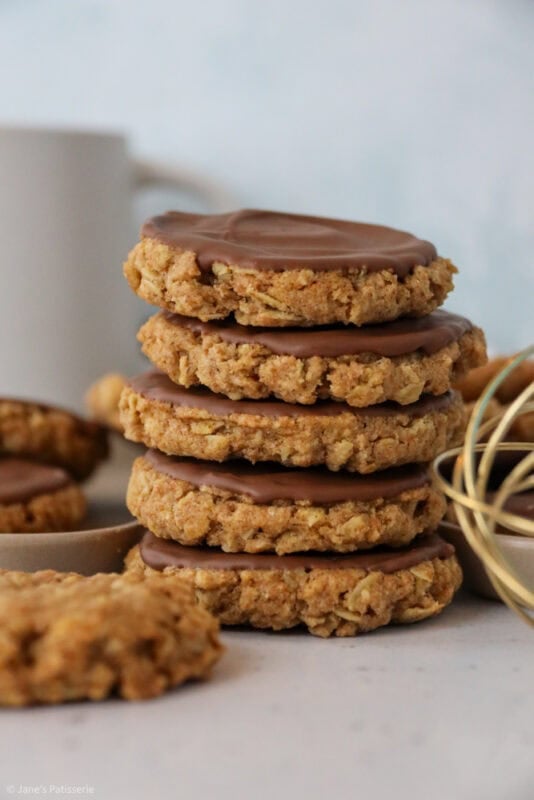
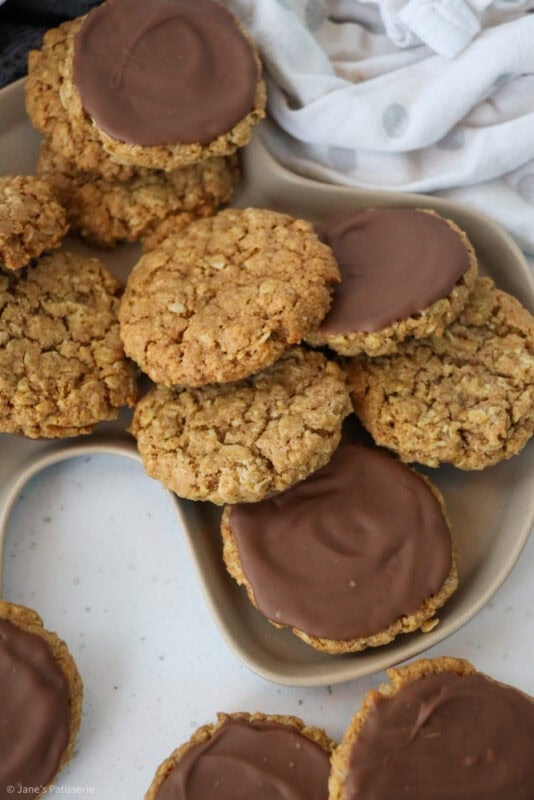
This is going to be a bit of a marmite subject I bet, but do you prefer yours plain, or with chocolate?! I love the milk chocolate ones personally, even though generally I prefer a dark chocolate coated biscuit. There is something about the milk chocolate hobnob that I completely and utterly adore… so I added milk chocolate to mine.
You can of course leave the hobnobs plain, but if you want to add chocolate, I find it best to melt the chocolate down until smooth, and then spoon a little onto the bottom of each cookie. I use the bottom (the side that was baked onto the tray) as it’s a super flat surface, perfect for the chocolate. I use a teaspoon or so’s worth of chocolate, and spread it slightly, to the edges, but you can dunk them if you prefer it’s just slightly messier.
If you want the chocolate to have a little pattern, you can let the chocolate set slightly and then use a fork to create a pattern in the chocolate before it sets fully. It’s also good to add a little vegetable oil or coconut oil (1tsp or so) and stir in slightly if you don’t want the chocolate to set firmly. I of course didn’t temper my chocolate, but you can if you want.
You can set the chocolate in the fridge for speed, or room temp is fine, it may just stay a little softer.
How to make this recipe Free-From
Here is a little how-to make this recipe free-from. I haven’t always tested these this way, so this is a guide for those who bake free-from on the regular or want to try something new. Inevitably changing the core recipe can create changes in texture and end result due to differences in ingredients.
- Gluten free – Swap the flour to gluten free plain flour (make sure all other ingredients are gluten free). For texture, you can add 1/4tsp xanthan gum per 150g of flour if it doesn’t already contain it. Also make sure that you are using gluten free oats.
- Dairy free – Swap the butter to a dairy free butter, and make sure the chocolate is dairy free or leave it out
- Egg free – the recipe is already egg free
Tips & Tricks
- These cookies will last for 7+ days at room temperature
- These cookies would freeze for 3+ months
- You can swap the wholemeal plain flour for white plain flour but the flavour will change and not be as accurate
- You can dunk the cookies in the chocolate instead but this gets a little messy
- I use this 4cm scoop for the portioning of the cookie dough
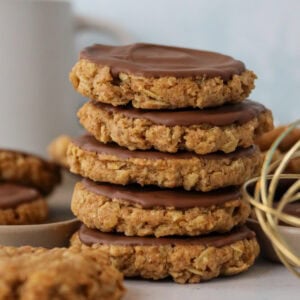
Homemade Hobnobs!
Ingredients
Biscuits
- 100 g unsalted butter/baking spread
- 100 g light brown soft sugar
- 50 g golden syrup
- 125 g rolled oats
- 0.5 tsp bicarbonate of soda
- 0.5 tsp sea salt
- 150 g wholemeal plain flour (please see notes)
Topping
- 100 g milk chocolate (melted)
Instructions
- Preheat the oven to 180ºc/160ºc fan and line 2-3 large trays with parchment paper
- Add the butter, sugar and syrup to a bowl and beat together until combined
- Add the oats, bicarbonate of soda, salt and flour to the bowl and mix again until combined.
- (If you struggle with your dough combining (it may depend on how you are mixing) you just need to keep mixing to bring the dough together, or use the warmth of your hands as it will be a little crumbly to get the correct texture)
- Portion the cookies into heaped tablespoons (I use a 4cm scoop) and then roll into balls.
- Press each cookie down by half and place onto the lined trays
- Bake in the oven for 12-15 minutes, and then leave to cool fully on the trays. For a more crunchy biscuit, bake for 15 minutes
- If you want to add chocolate, melt it once the cookies have cooled
- Spread a teaspoon or so of chocolate onto the base of each cookie, and spread to the edges. You can set the chocolate in the fridge for speed, or room temp is fine, it may just stay a little softer.
- Leave to set and enjoy
Notes
- These cookies will last for 7+ days at room temperature
- These cookies would freeze for 3+ months
- You can swap the wholemeal plain flour for white plain flour if you can't buy it or find it, but the flavour will change and not be as accurate (but will work in the recipe)
- You can dunk the cookies in the chocolate instead but this gets a little messy
- I use this 4cm scoop for the portioning of the cookie dough
Find my other recipes on my Recipes Page!
You can find me on:
Instagram
Facebook
Pinterest
Twitter
Youtube
J x
© Jane’s Patisserie. All images & content are copyright protected. Do not use my images without prior permission. If you want to republish this recipe, please re-write the recipe in your own words and credit me, or link back to this post for the recipe.
Love Hobnobs……originally from the UK now living in the USA. We don’t have plain flour, only whole-wheat or whole wheat white which is the best please? Thanks so much.
As I haven’t made these in the USA before I can’t be sure on substitutes for wholemeal plain flour, but you can just use the white plain flour substitute of all purpose flour x
Has anyone tried this using gluten free flour? How did it turn out
Made it exactly as the recipe and they came out perfectly – the mixture wasn’t dry at all. I did mix it with my hands and the butter was very soft, so I think that made a difference. I made a ball with my hands and then pressed it flat on the baking tray. I then used a medium cookie cutter to neaten the edges and put the crumbs from the cutting back in the bowl. Someone mentioned putting a cube of chocolate on each hobnob when they came out of the oven and it melted beautifully (and no chocolate-y bowl). Thank you for the recipe. I think I’ll be making these a lot and it’s wonderful to know exactly what’s in the biscuits – no nasties, like palm oil.
Hi what book is this recipe in. Thanks Karen
Hiya, it’s not – it’s here on the blog.
I’d love to make a coconut version of these – would you recommend just adding desiccated coconut and would I need to reduce the amount of any other ingredients? Thanks!
That sounds nice, how much coconut please 🙏
Hi. Is it just normal milk chocolate or cooking chocolate please.? Have checked through and can’t see that anyone as asked yet. Thank you
That’s up to you. For decoting and topping people woukd often rather use their preferred chocolate, but when incorporating in cooking use cooking chocolate. For topping I know my family likes C####rys or G####xy or my mum dark
chocolate. I know I’m not the author but imagine she’d say use what you like.
Just made these and they’ve gone down a treat. I was cautious at first with everyone saying about them being dry but they were fine, to be honest I don’t think it’s supposed to be moist mixture, biscuits aren’t generally. The mixture was a bit bitty but you just press it together with your hands and it soon forms.
I rolled them into balls then pressed them straight onto the baking tray. Next time I’ll flatten them down a bit more as I made them a bit thicker than your usual hobnob.
Also, one of the comments about putting a cube of chocolate on each biscuit as soon as they come out of the oven.. brilliant idea!
I do enjoy your recipes Jane, thank you x
First time I made these the mixture was to dry, just made them again using 50/50 wholemeal flour and plain flour they have come out perfectly.
The dough may just need a little kneading to bring it together without swapping the flours, but glad it worked out with a mix.
Can I use gluten free flour for these?
I made these with honey not Golden syrup & white flour as run out of Wholemeal.
Absolutely delicious thank you Jane patisserie 💞
I had to use maple syrup because I didn’t have any golden. Mixture seemed a little dry a they’re in the oven fingers crossed
I find maple syrup less sticky so that may be why – but also you just need to use warmth of the hand to bring it together or beat for longer!
Made this twice now and the mixture is too dry to come together – the birds enjoyed them though!
You just need to use the warm of a hand or a spatula to bring them together. You want to avoid adding any extra liquid as it will prevent the cookies baking as you want to make a hobnob
Made these twice already, doubled up on the second batch since they were so well liked
Added a square of chocolate to them when out the oven, so it melted with the heat and spread easily
Do you think they could be done in a tray bake version to make hobnob bars? What would the bake time be? Just the same?
Thanks
Made these a few days ago and they’ve all gone already! Delicious and absolutely lovely texture! Will be making again, thank you Jane for another amazing recipe x
Can you add chocolate chips instead?